User Tools
Table of Contents
This is an old revision of the document!
Install Ubuntu 18.04.5
Starting the installation
Mount the downloaded Ubuntu 18.04.5 .iso file
reboot your system
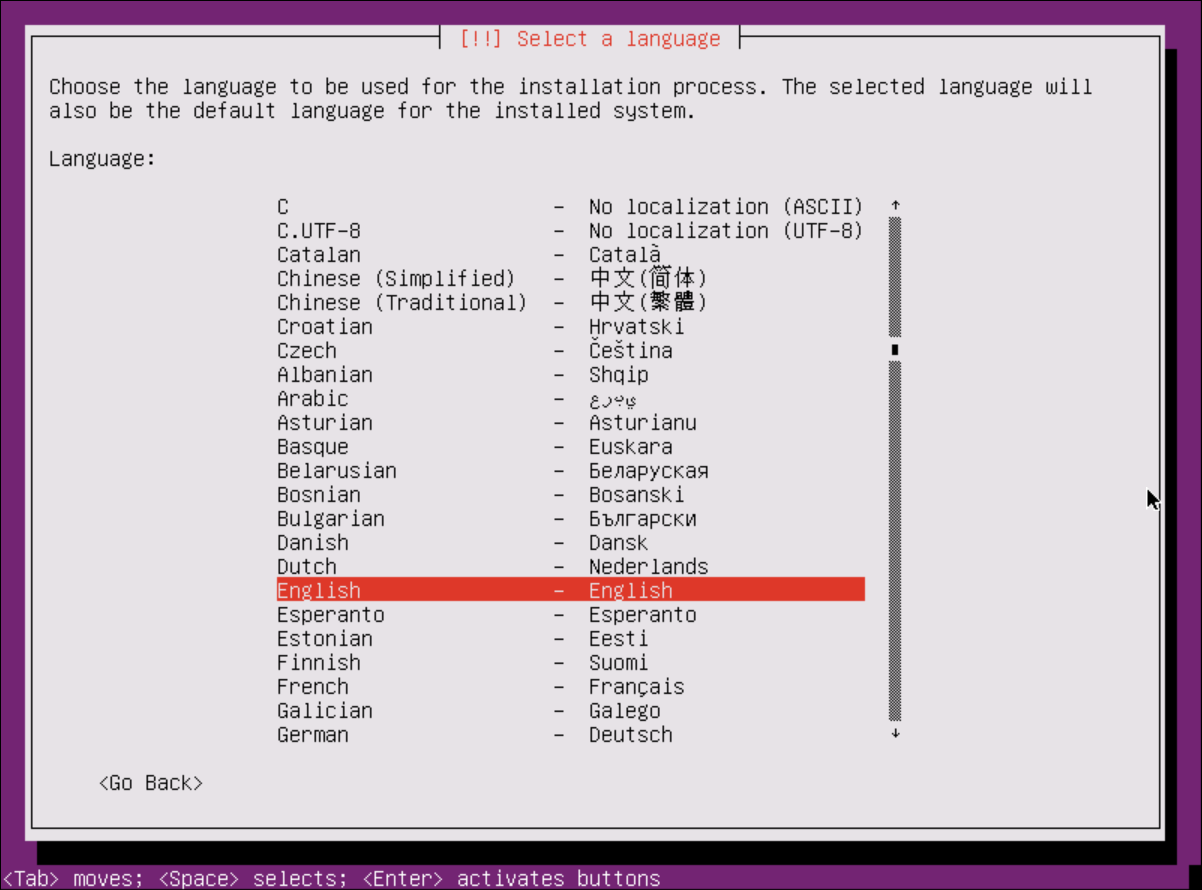
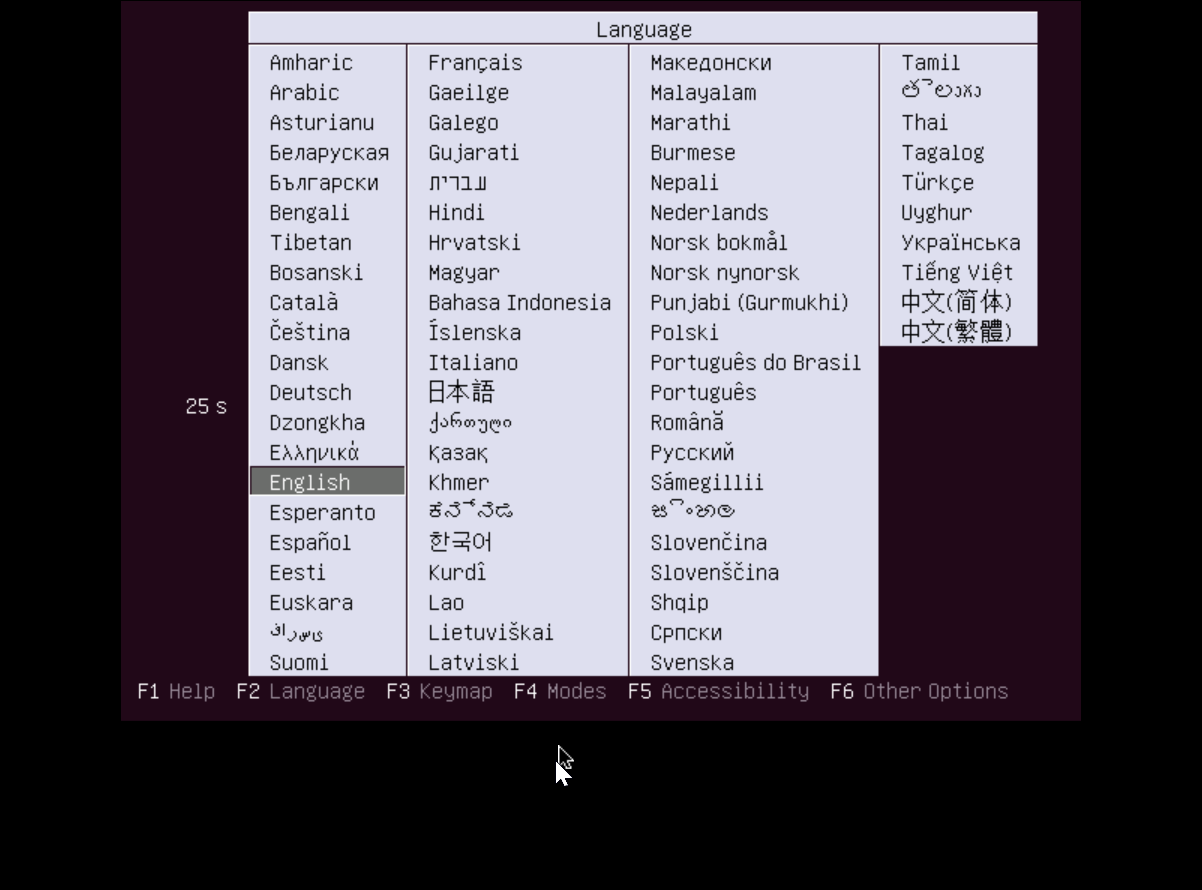
select a language (english is fine)
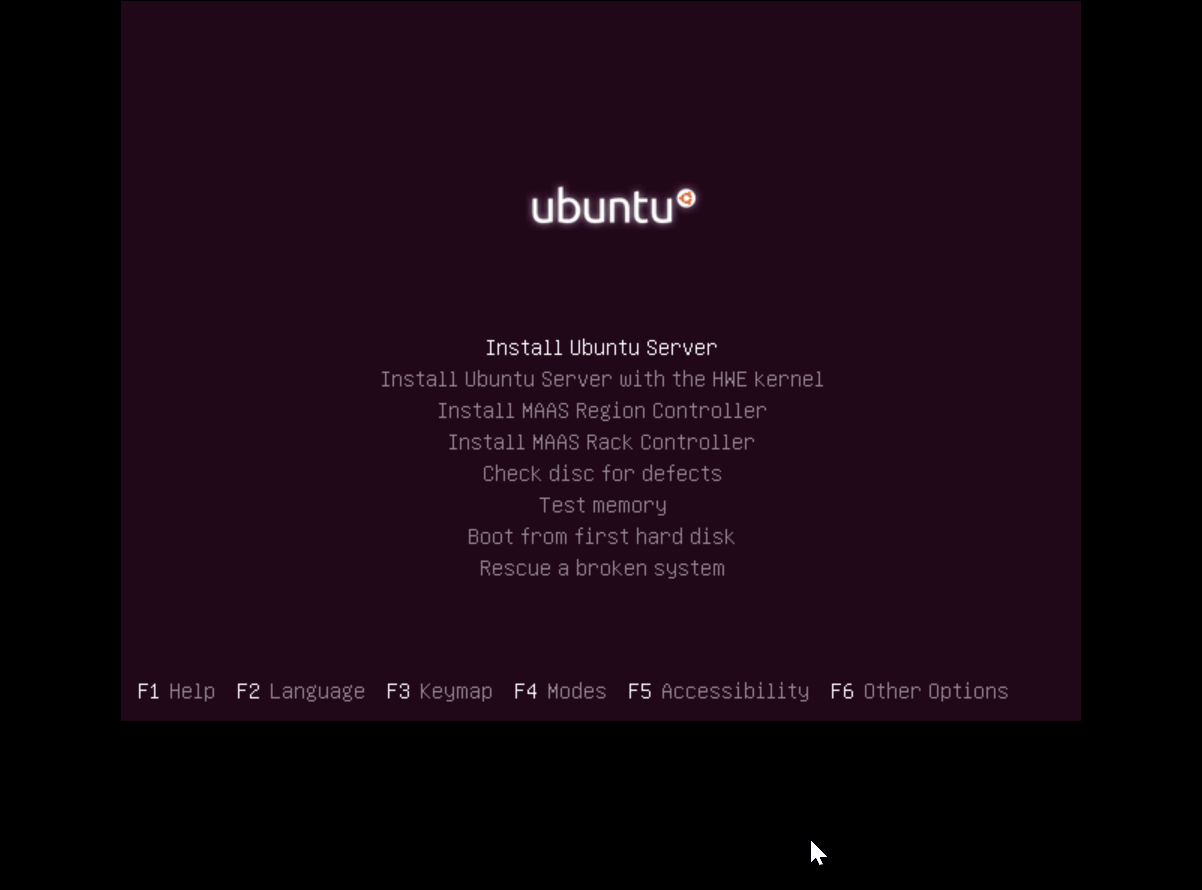
select “Install Ubuntu Server”
Configuration
Select your language
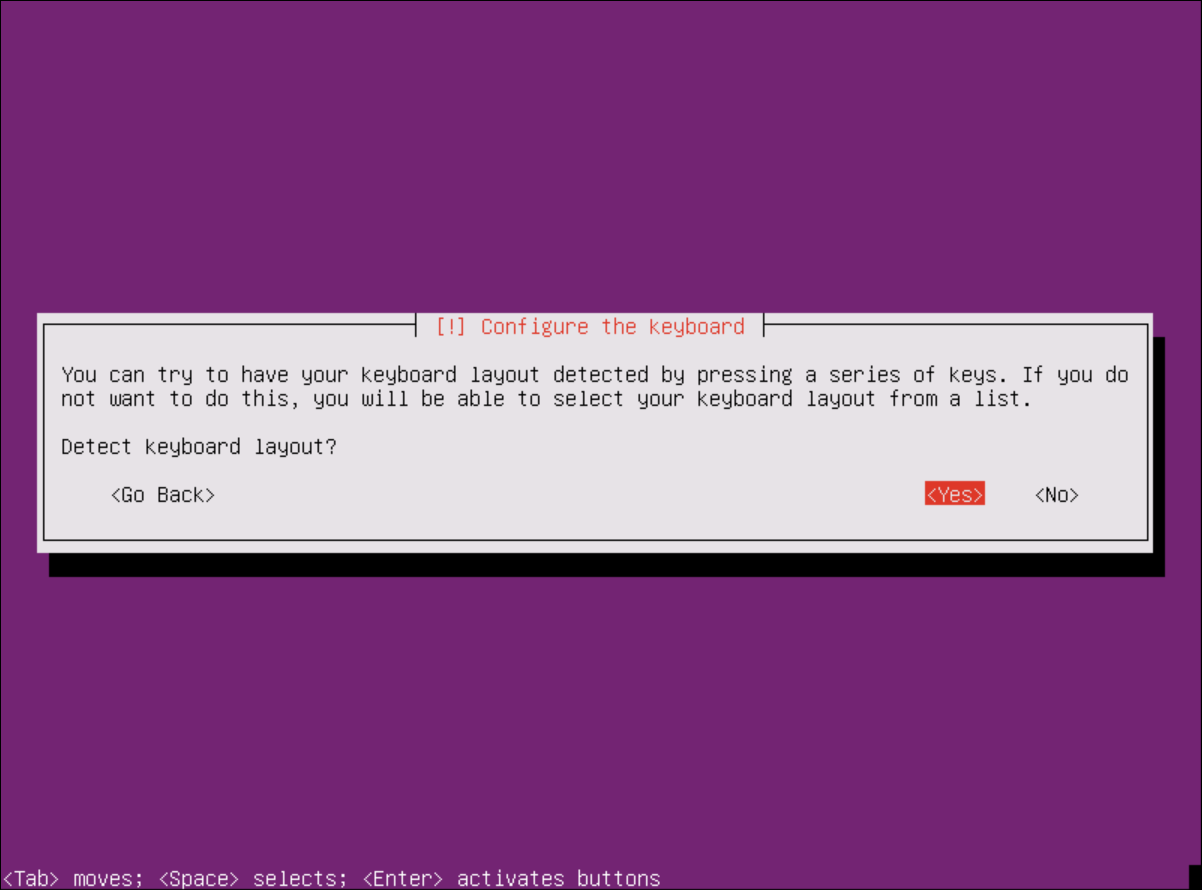
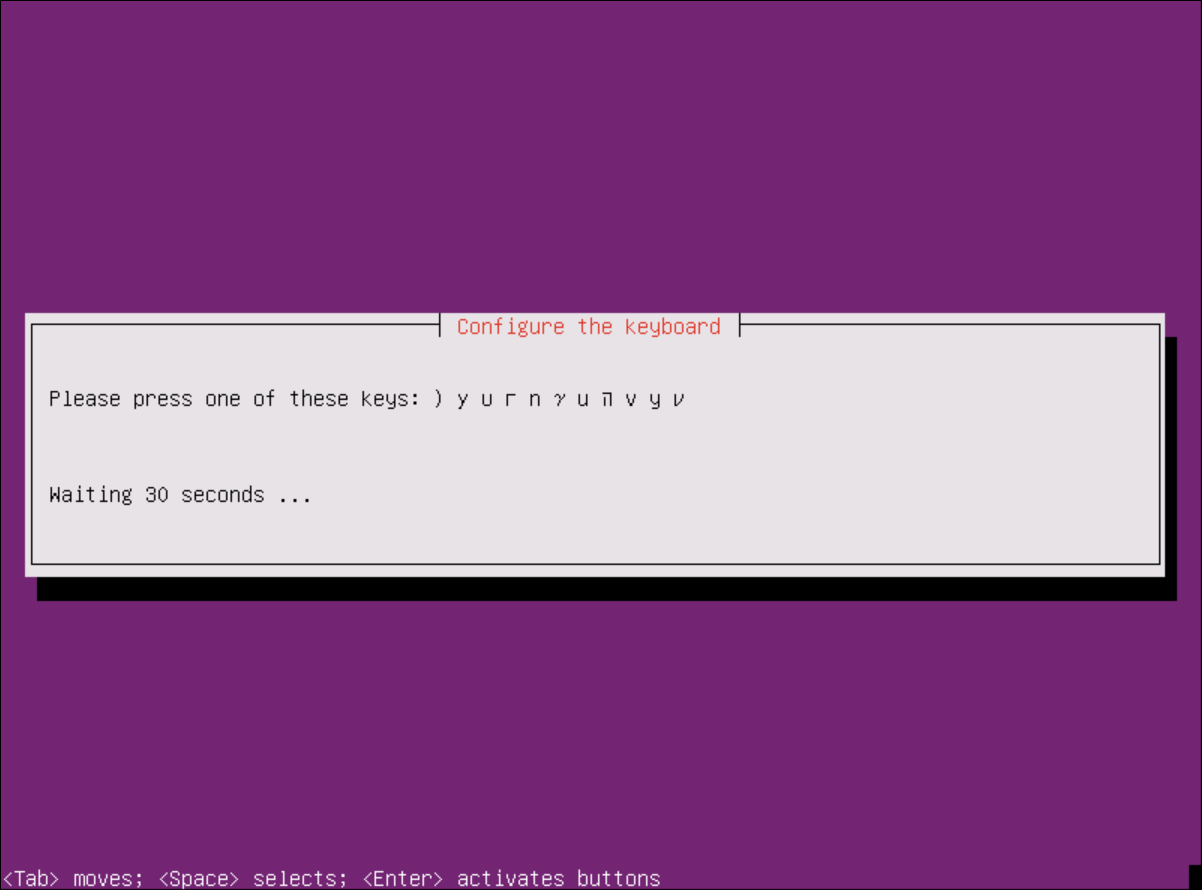
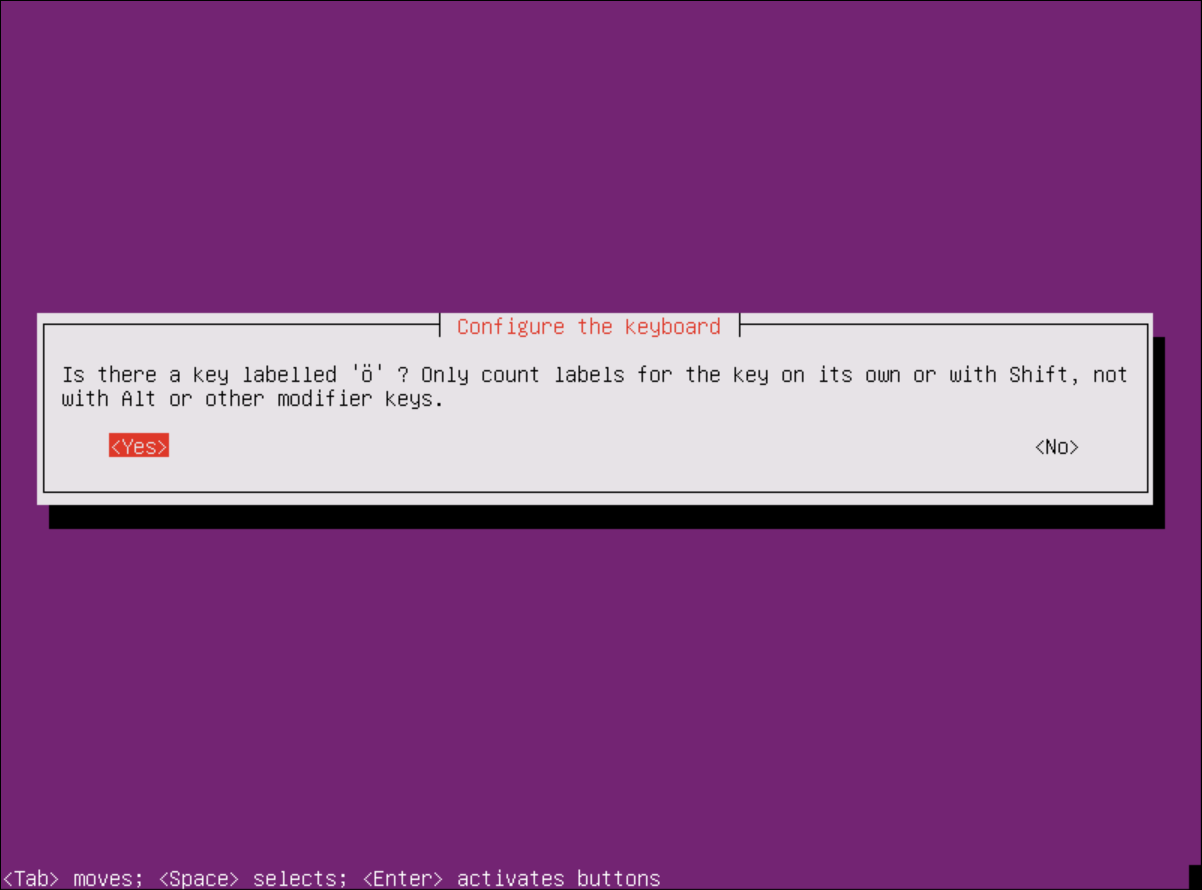
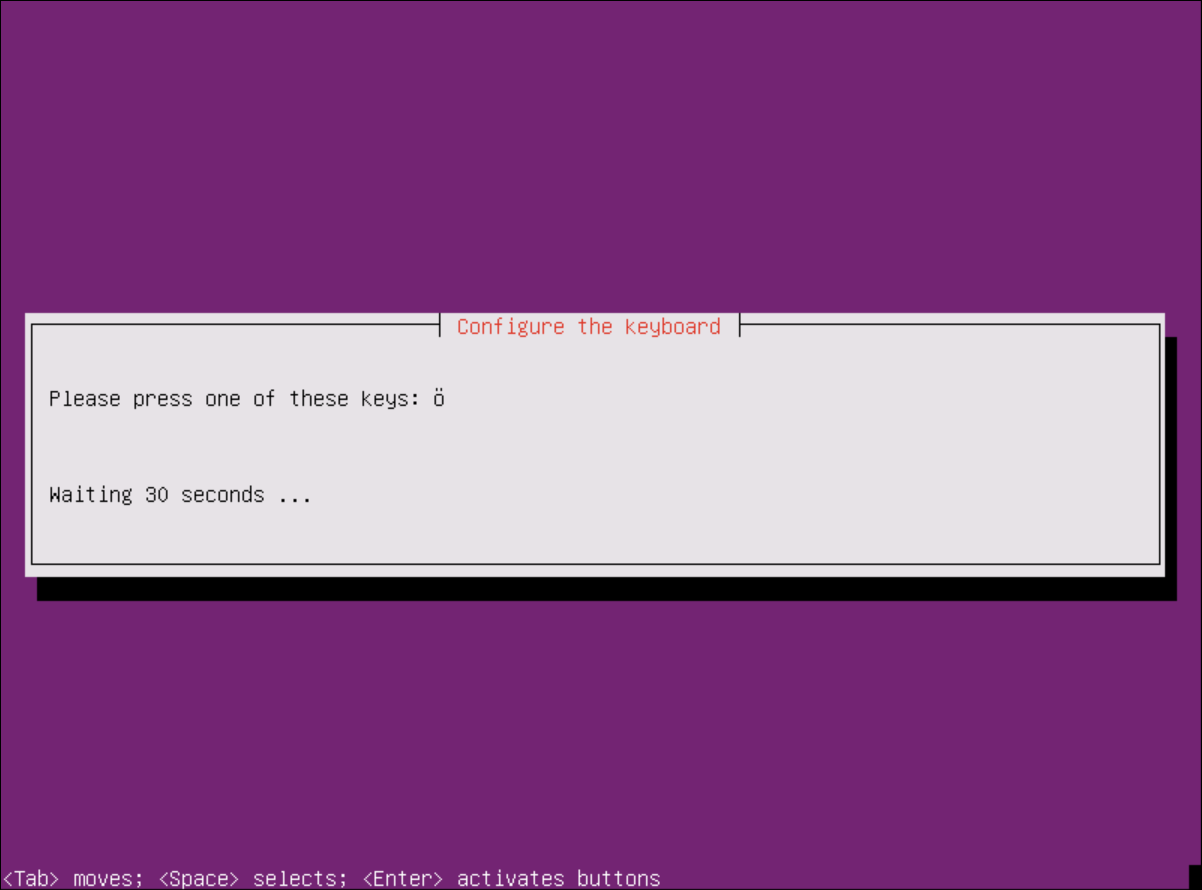
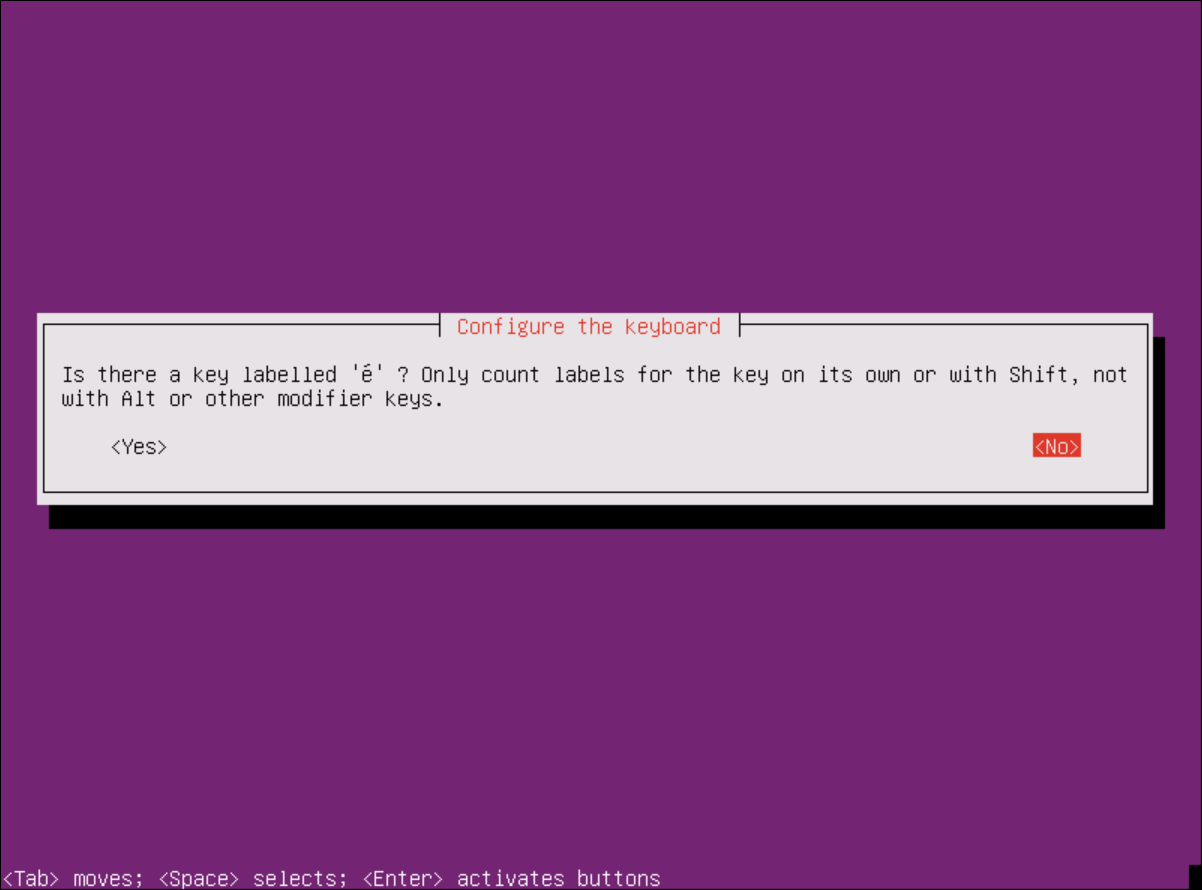
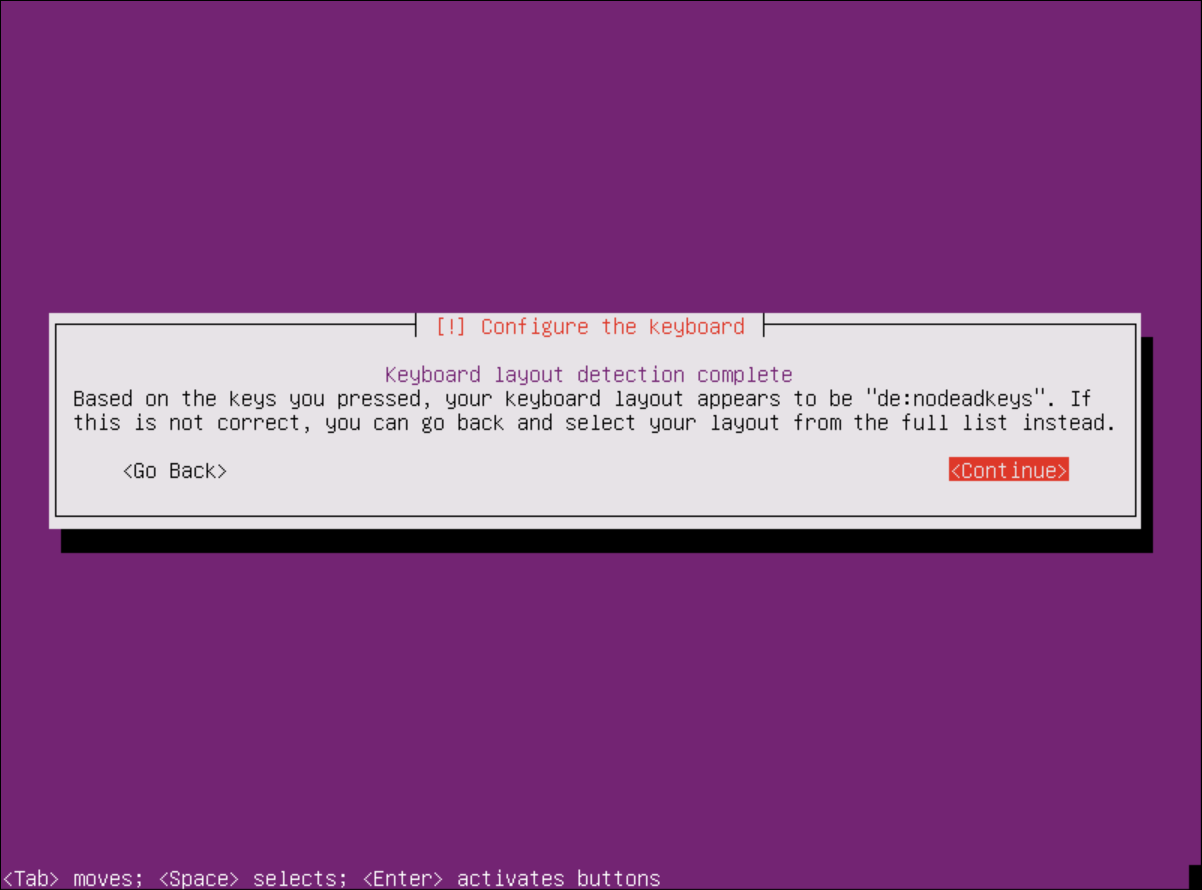
Configure the keyboard
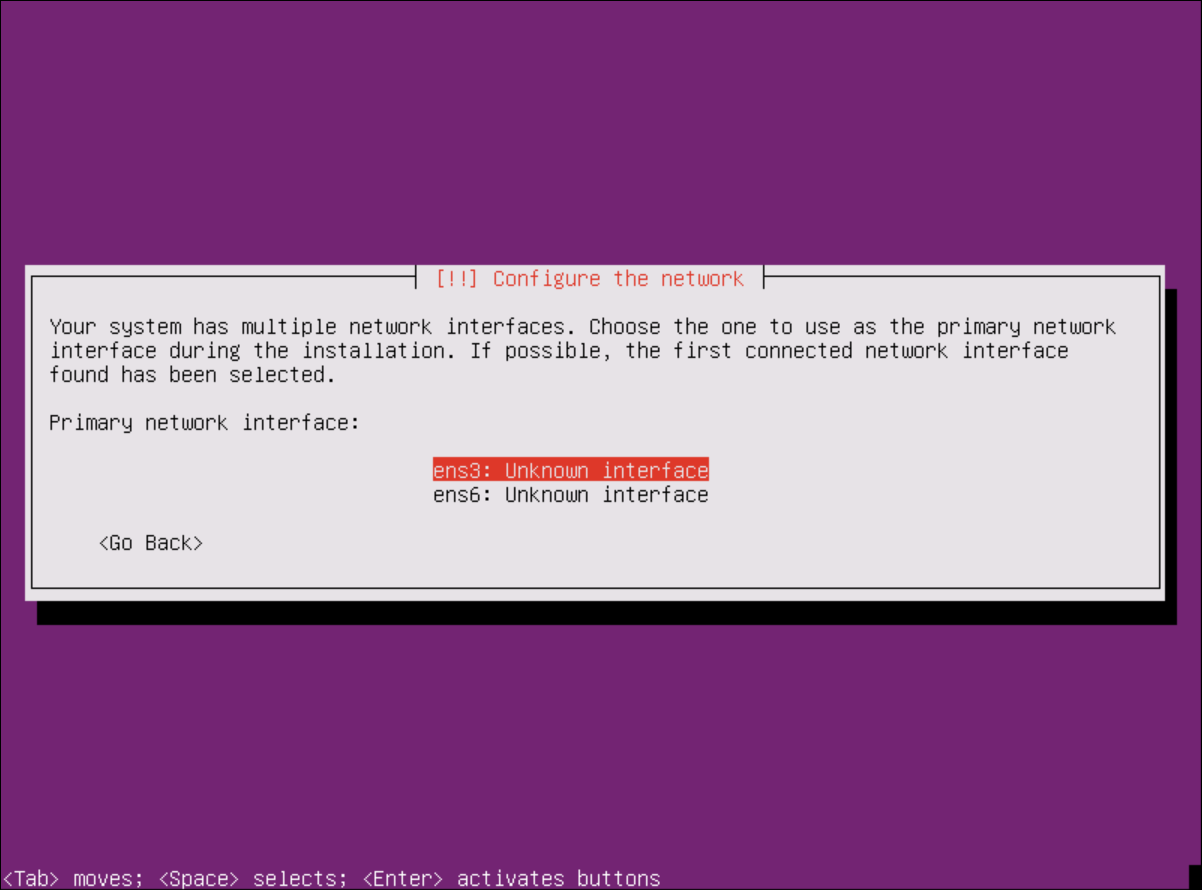
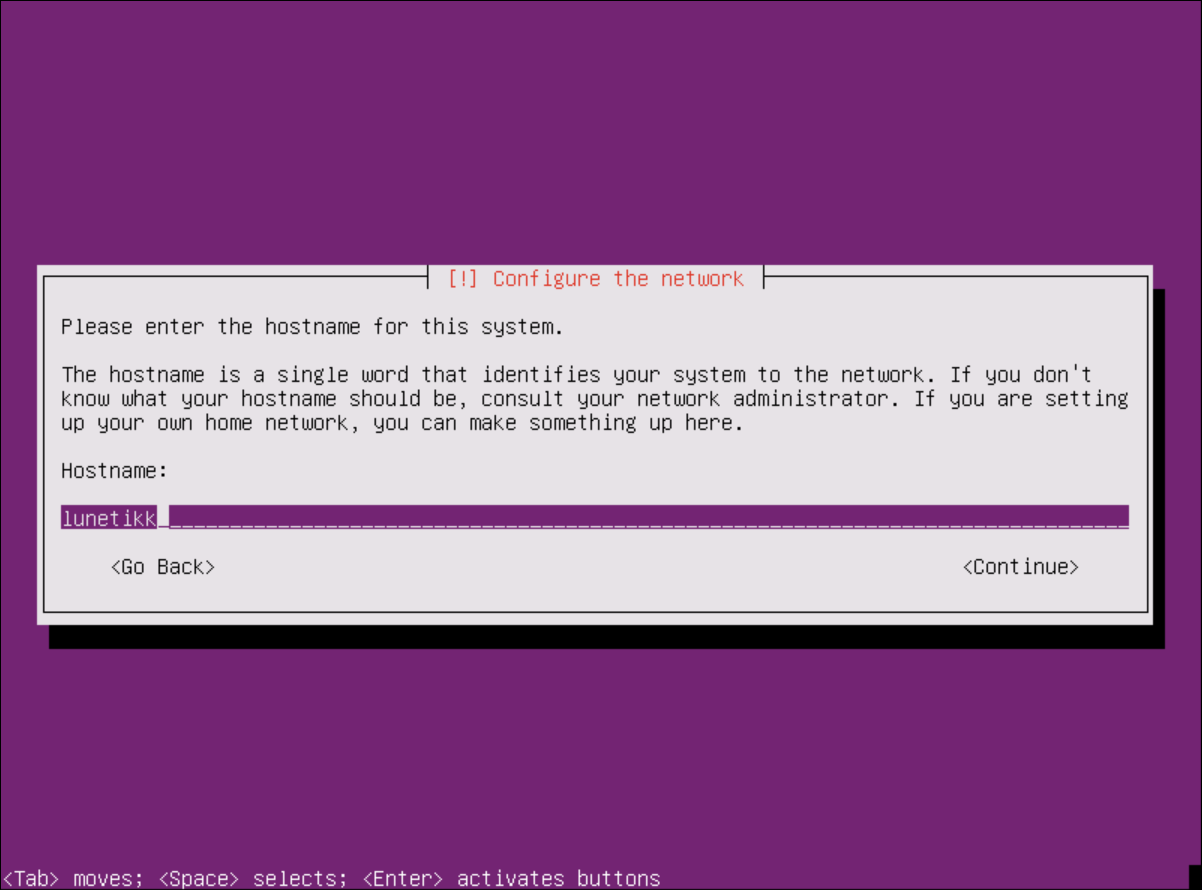
Configure the network
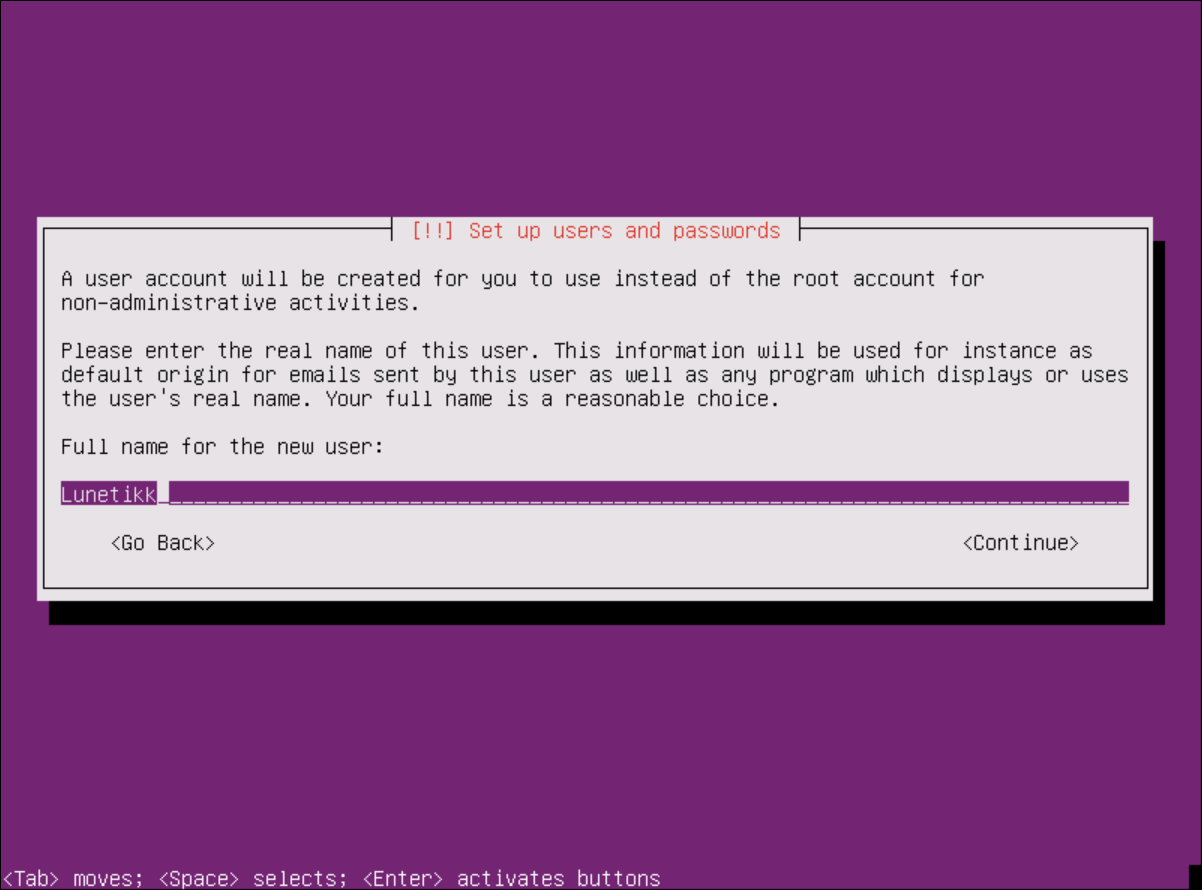
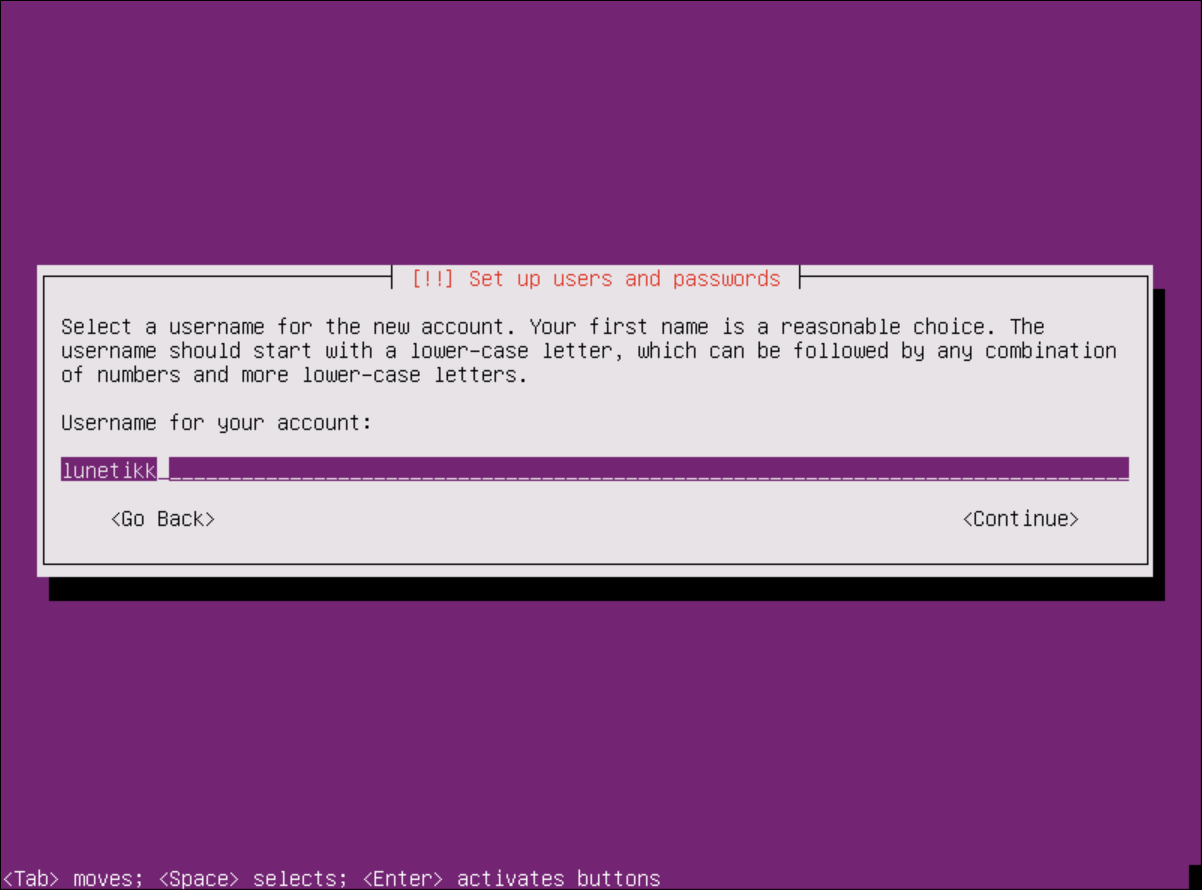
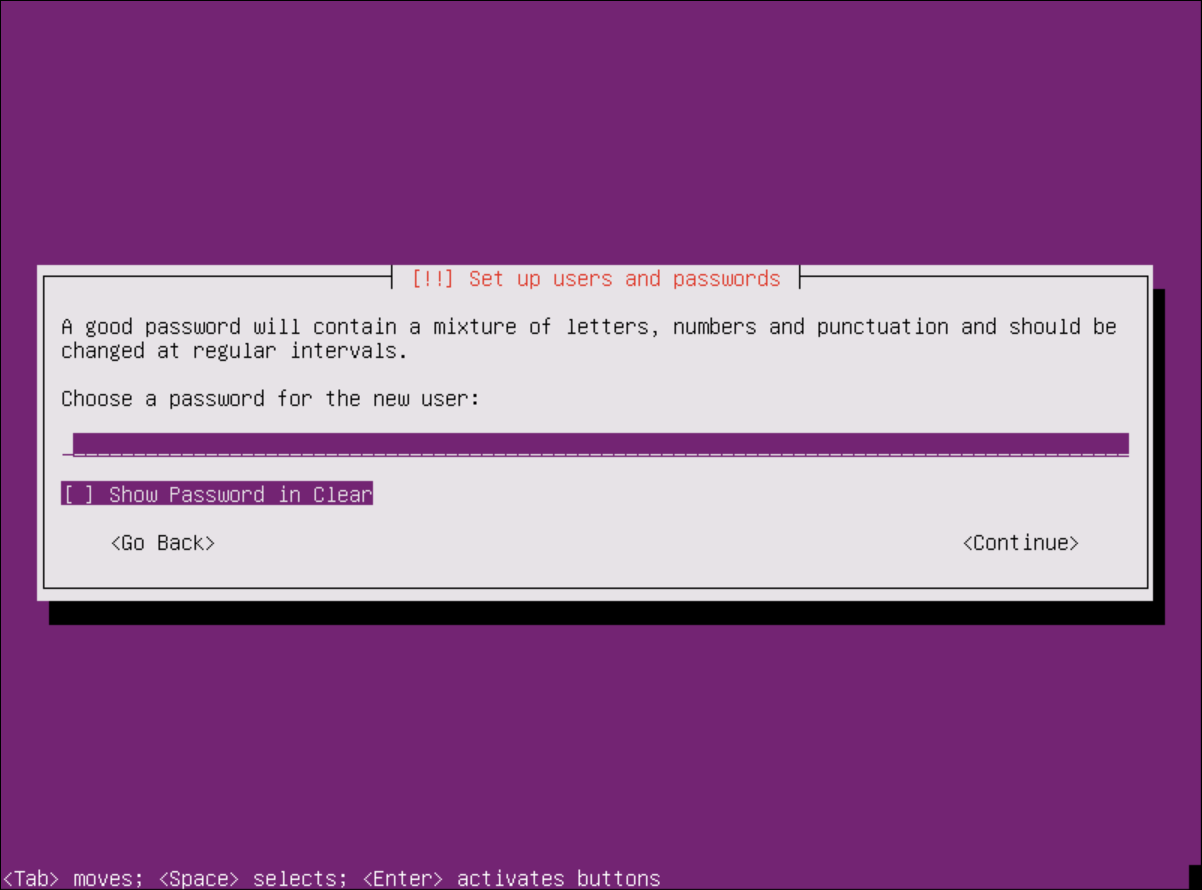
Set up users and passwords
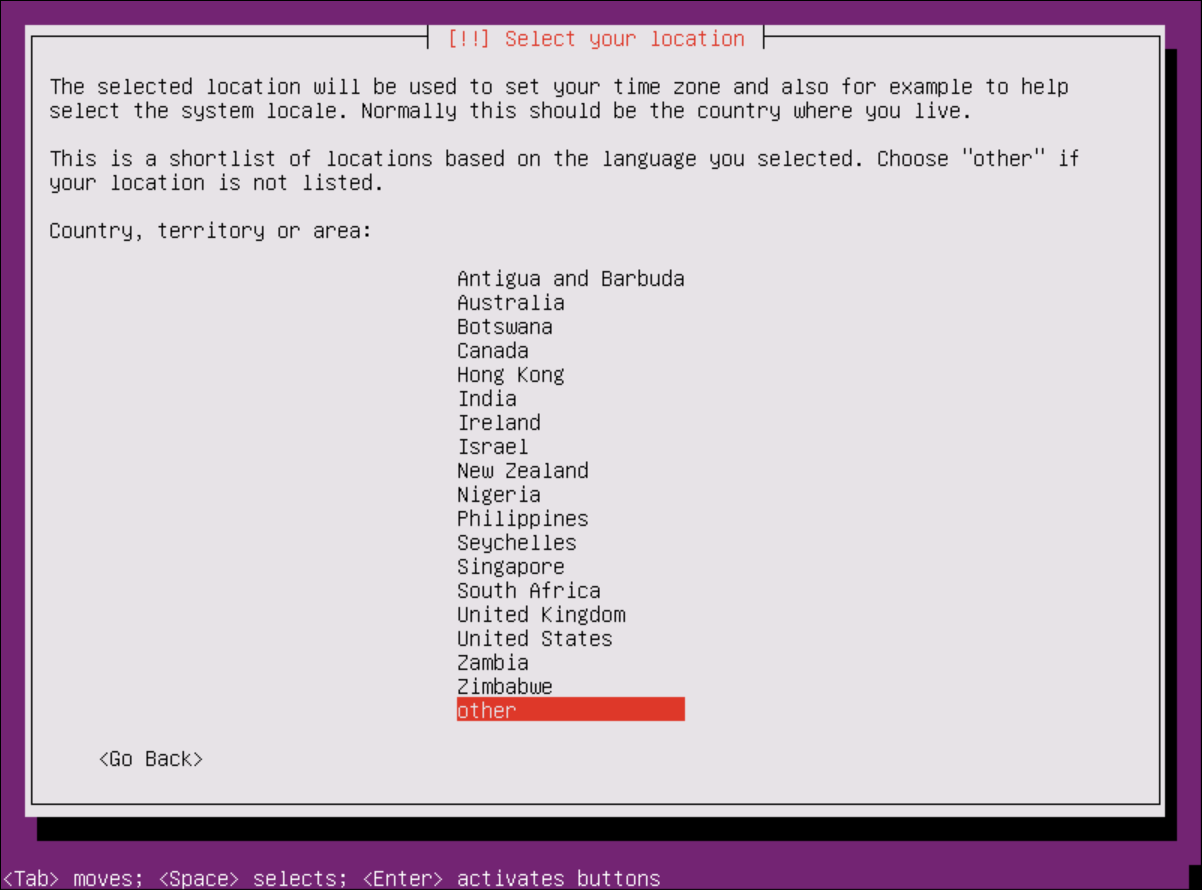
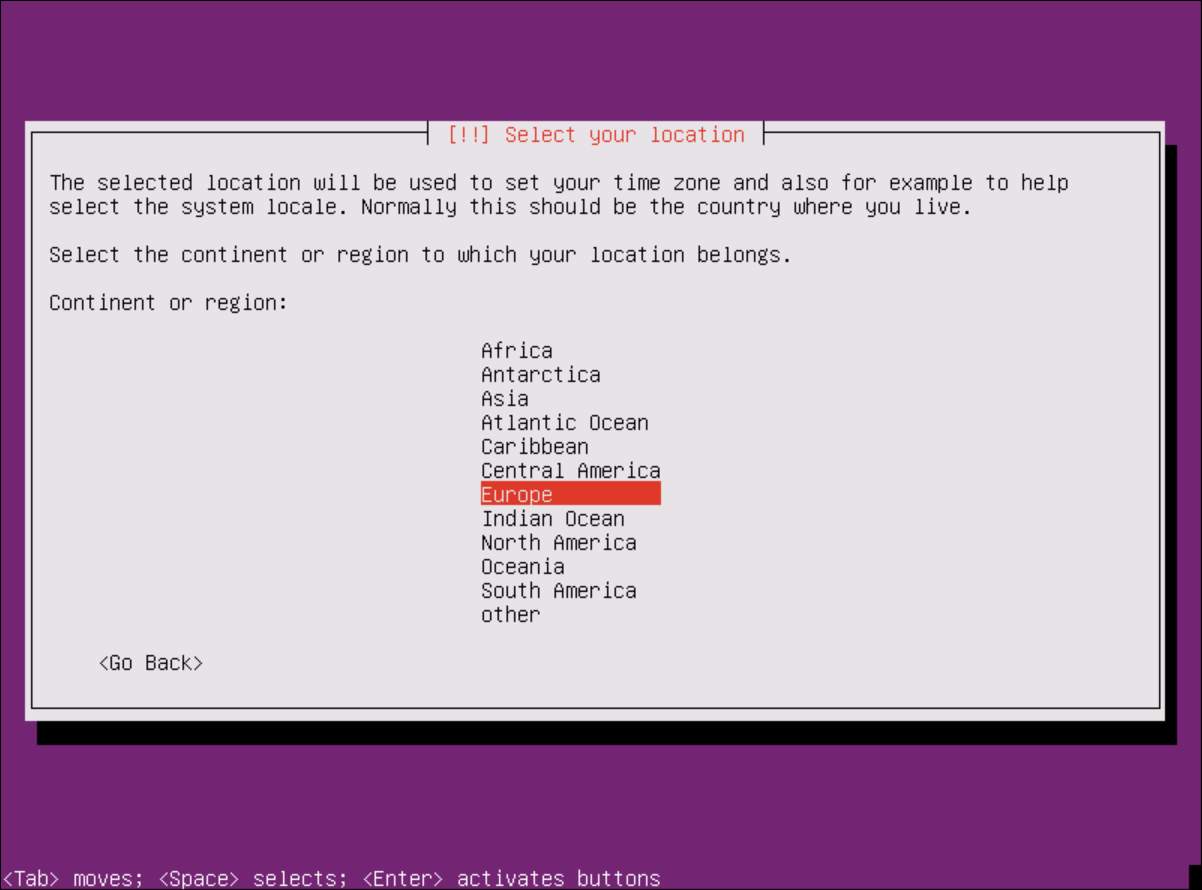
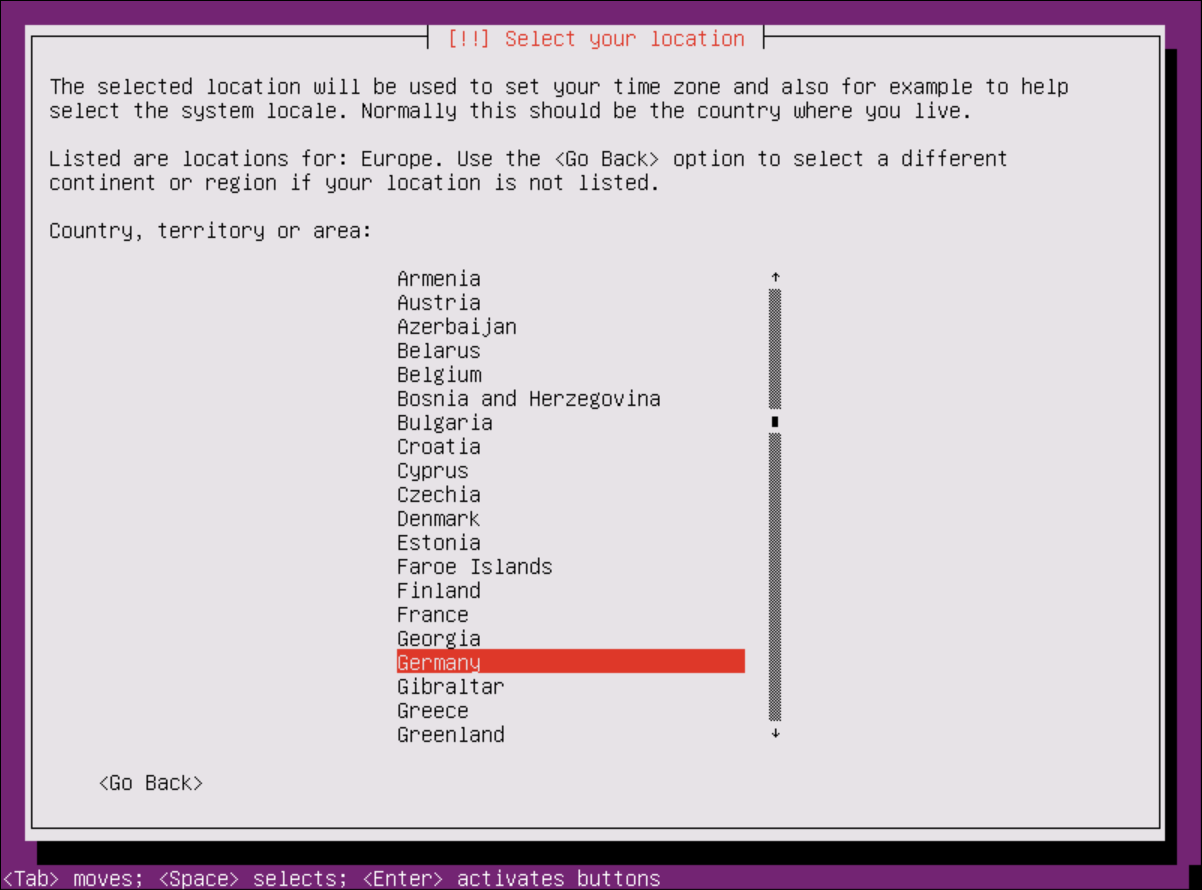
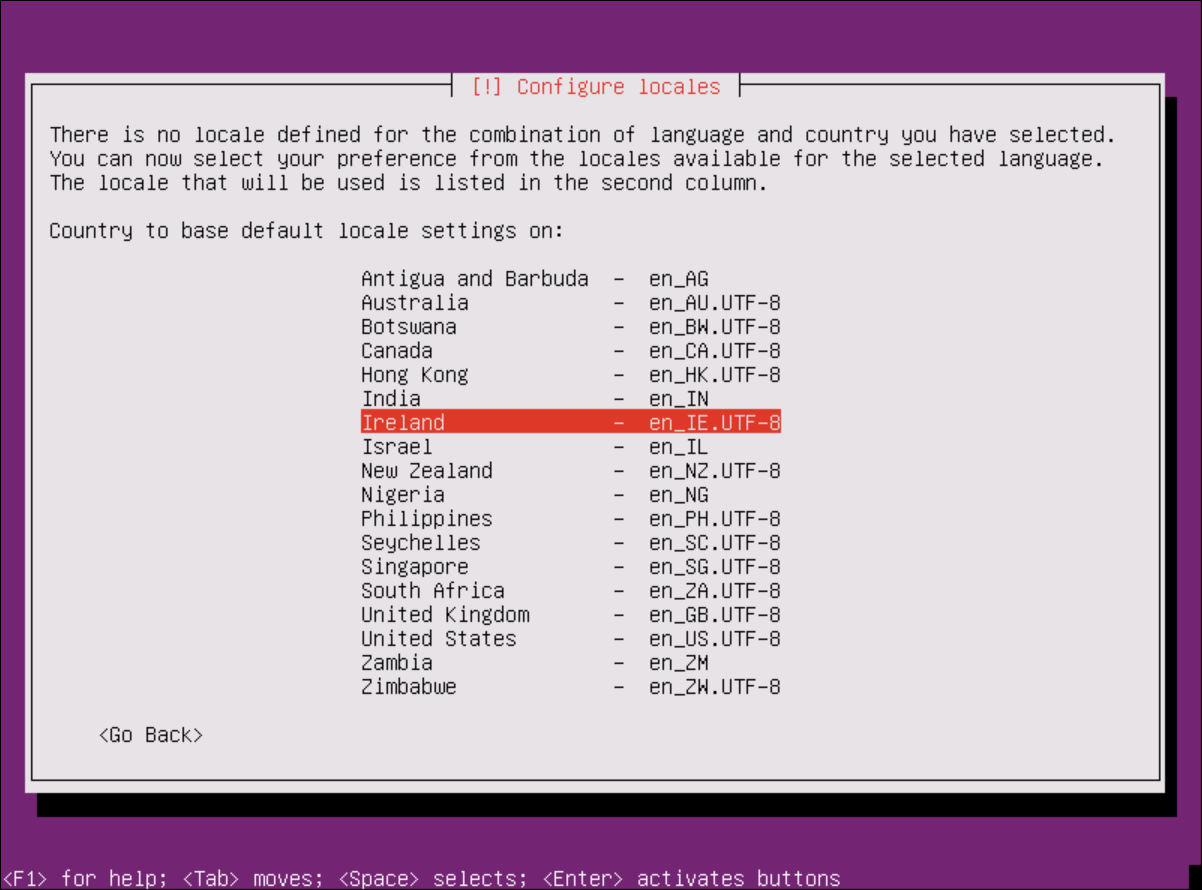
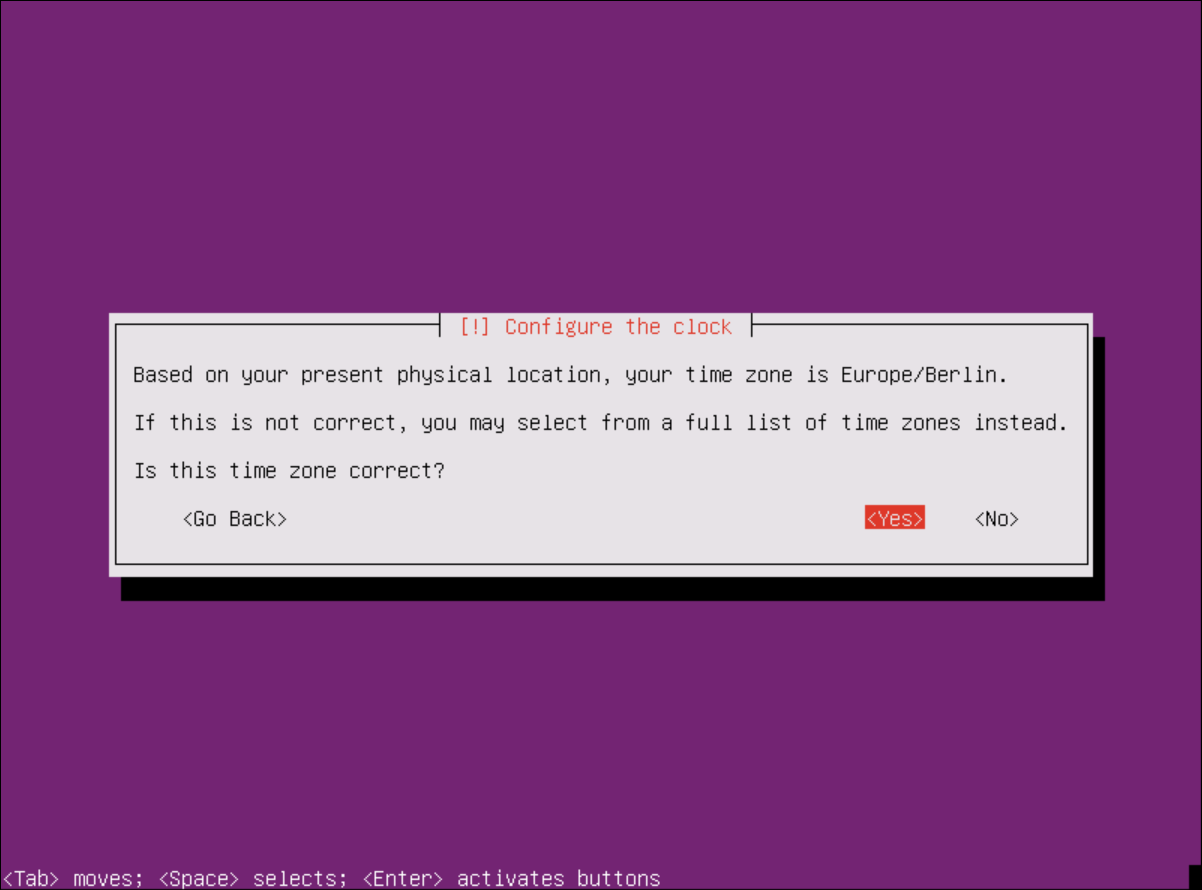
Configure the clock
if the autoselected timezone is correct select yes, otherwise select no and chose the correct location
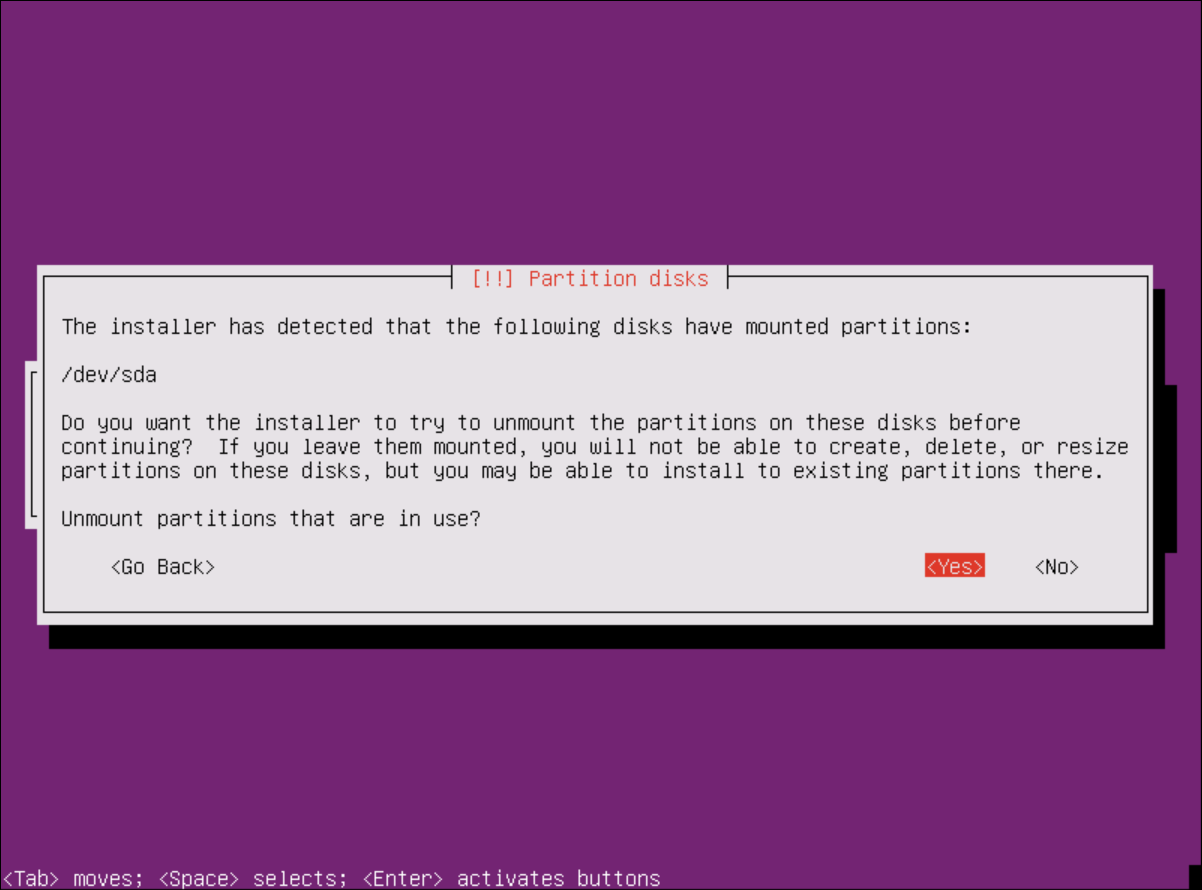
Partition disks
if you had a server before, select unmount partitions
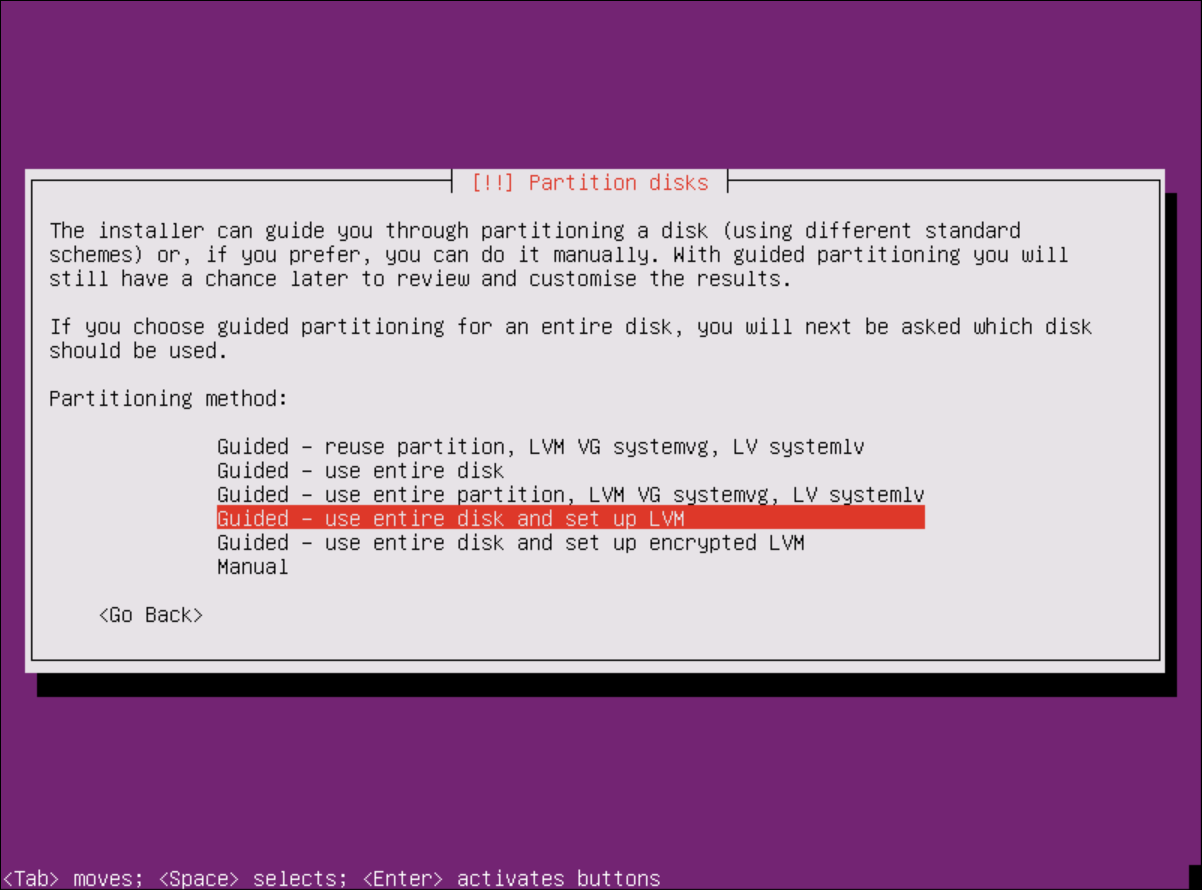
select “Manual” and then set up LVs (LVM)
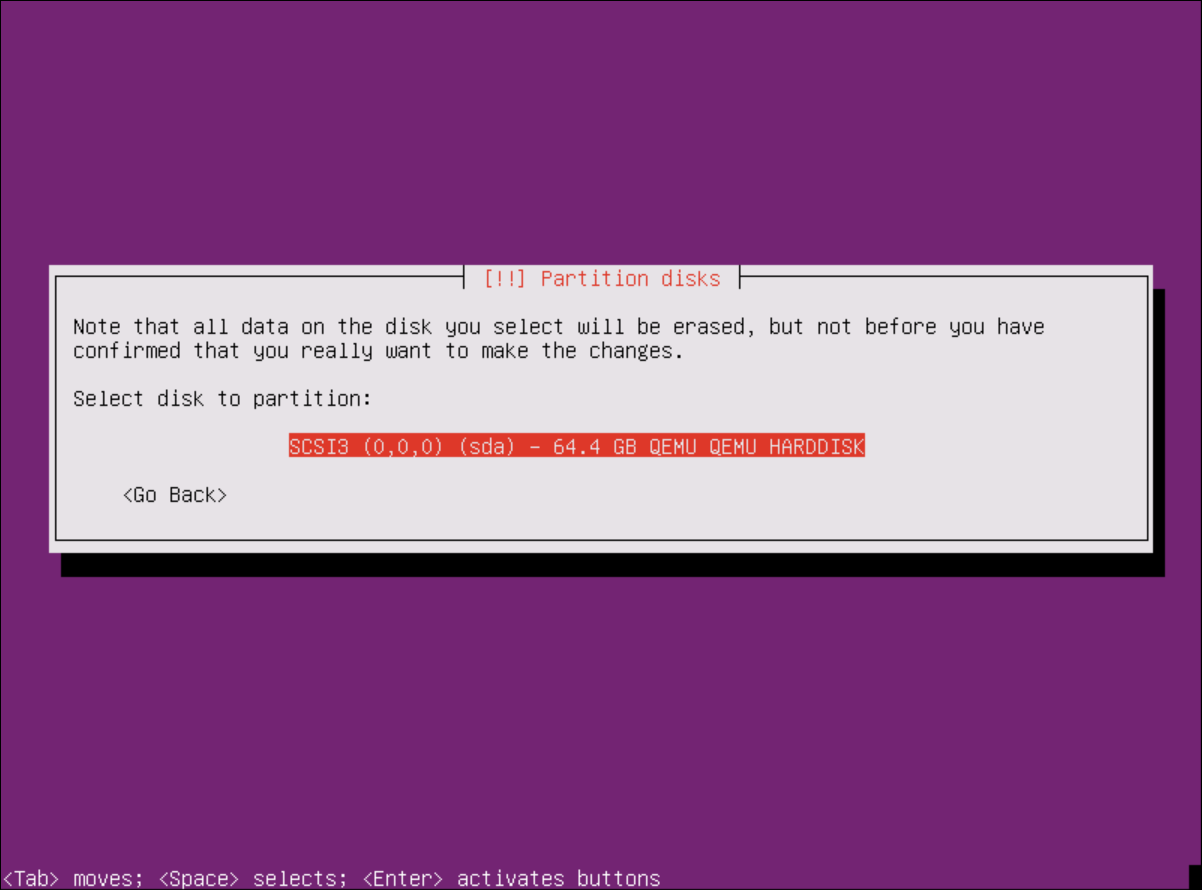
select your disk
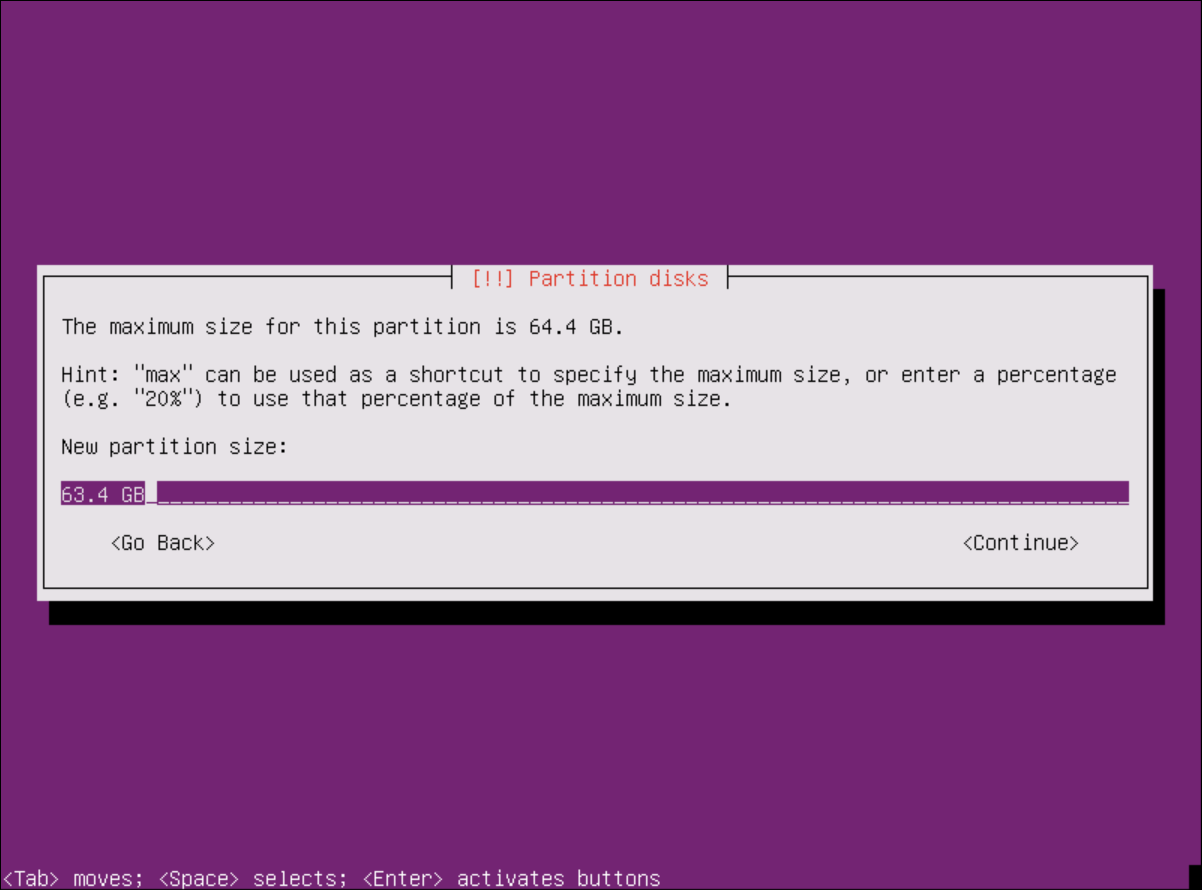
partition the disk -1GB space (for /boot)
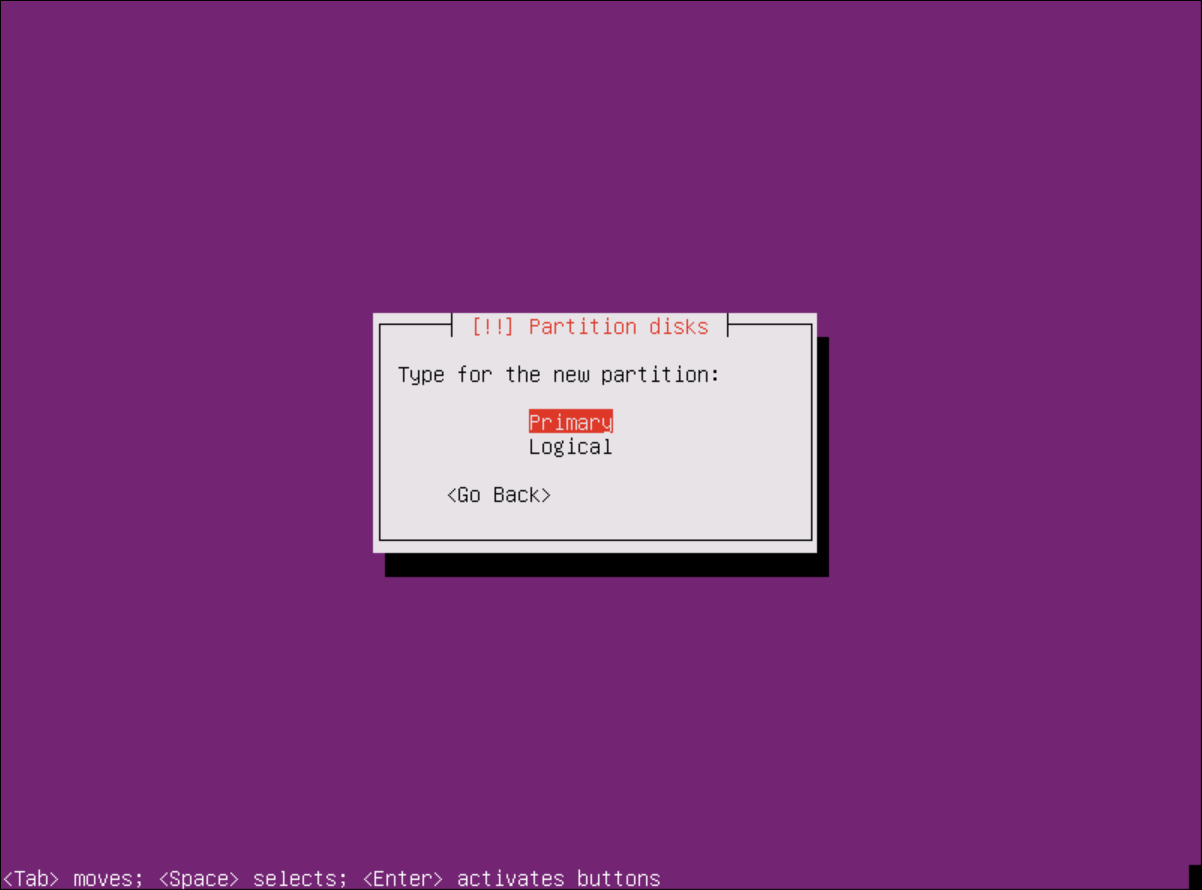
select “Primary”
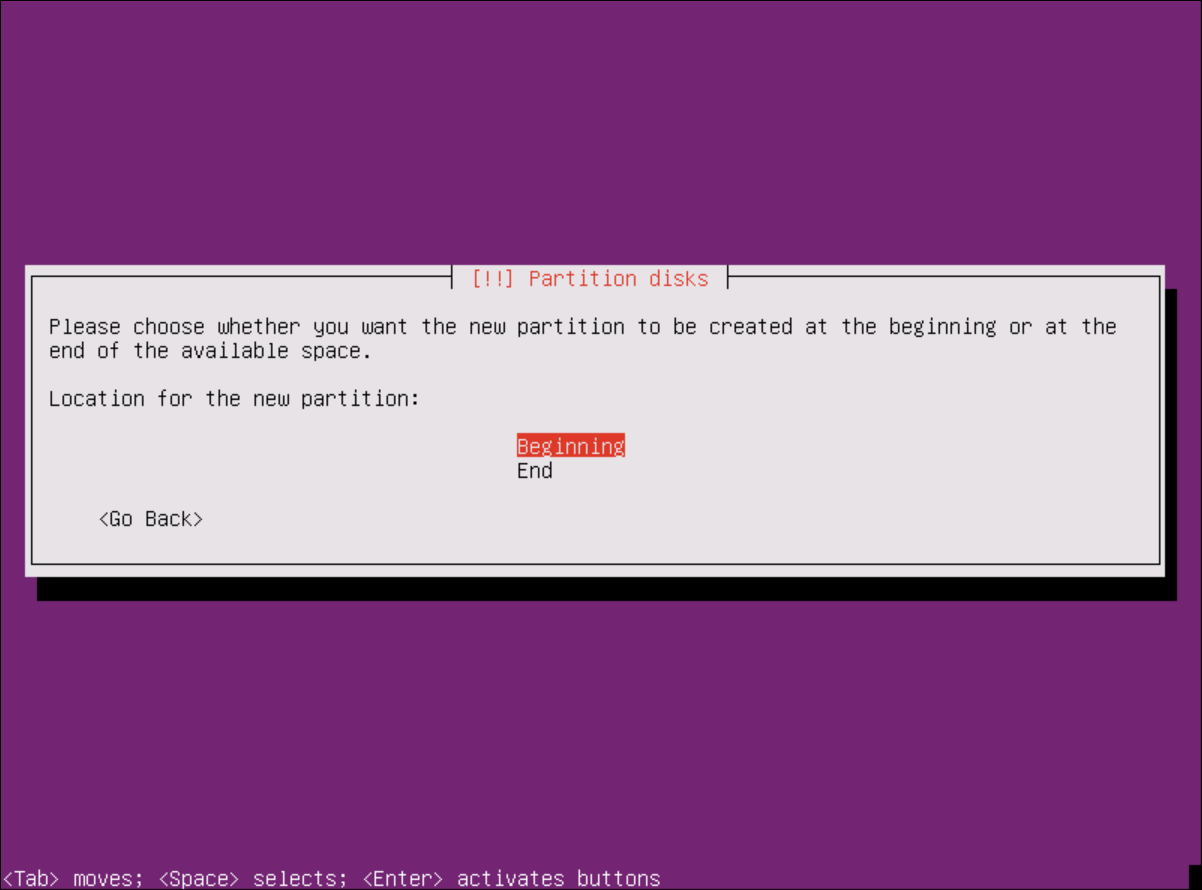
select“Beginning”
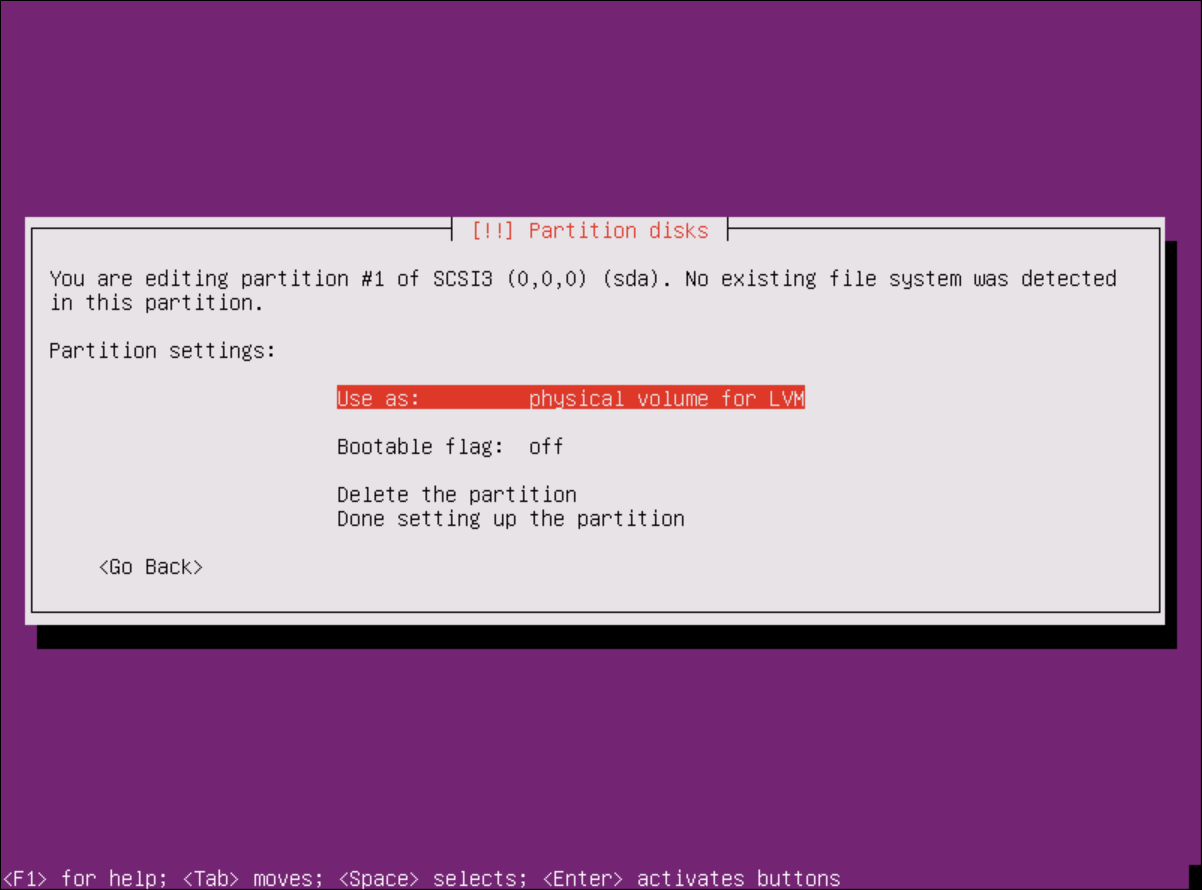
set use as “physical volume for LVM” and select “Done setting up the partition”
select the “1 GB FREE SPACE”
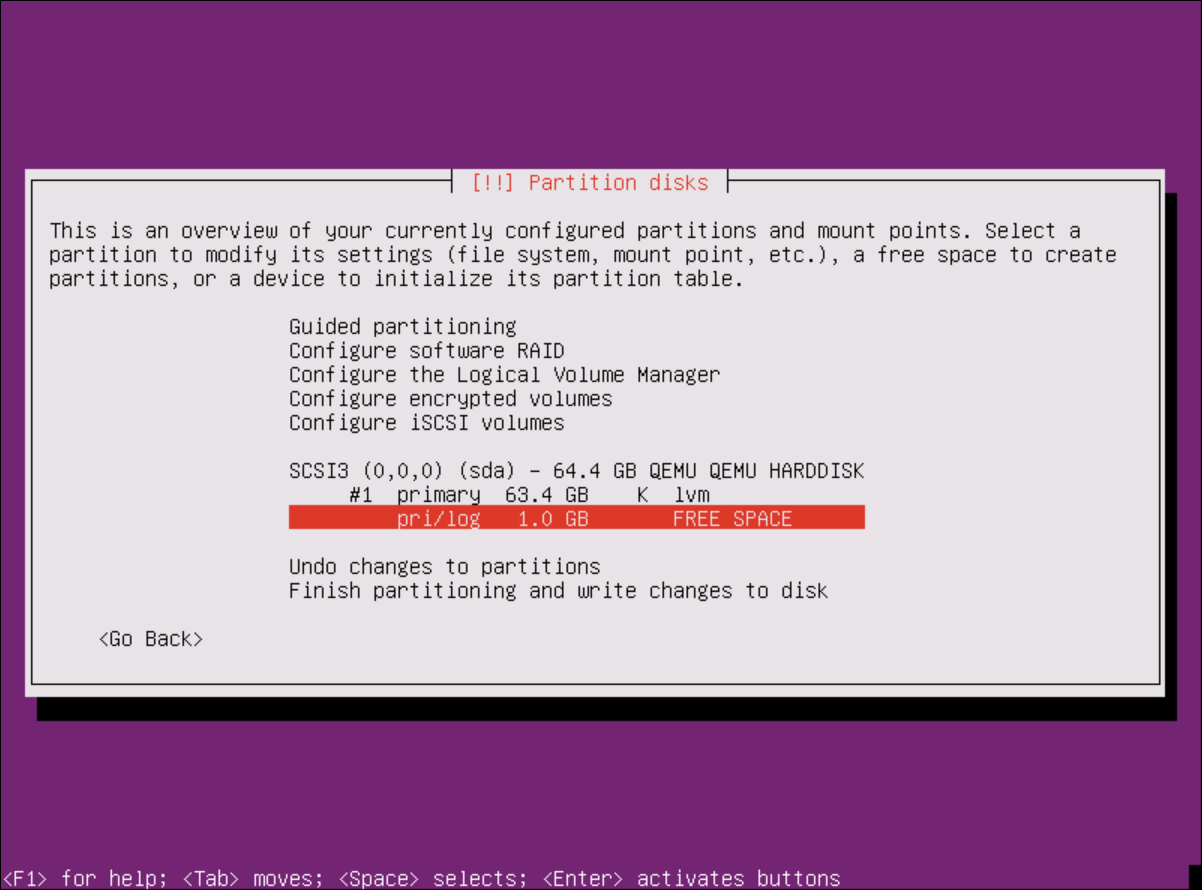
select “Create a new partition”
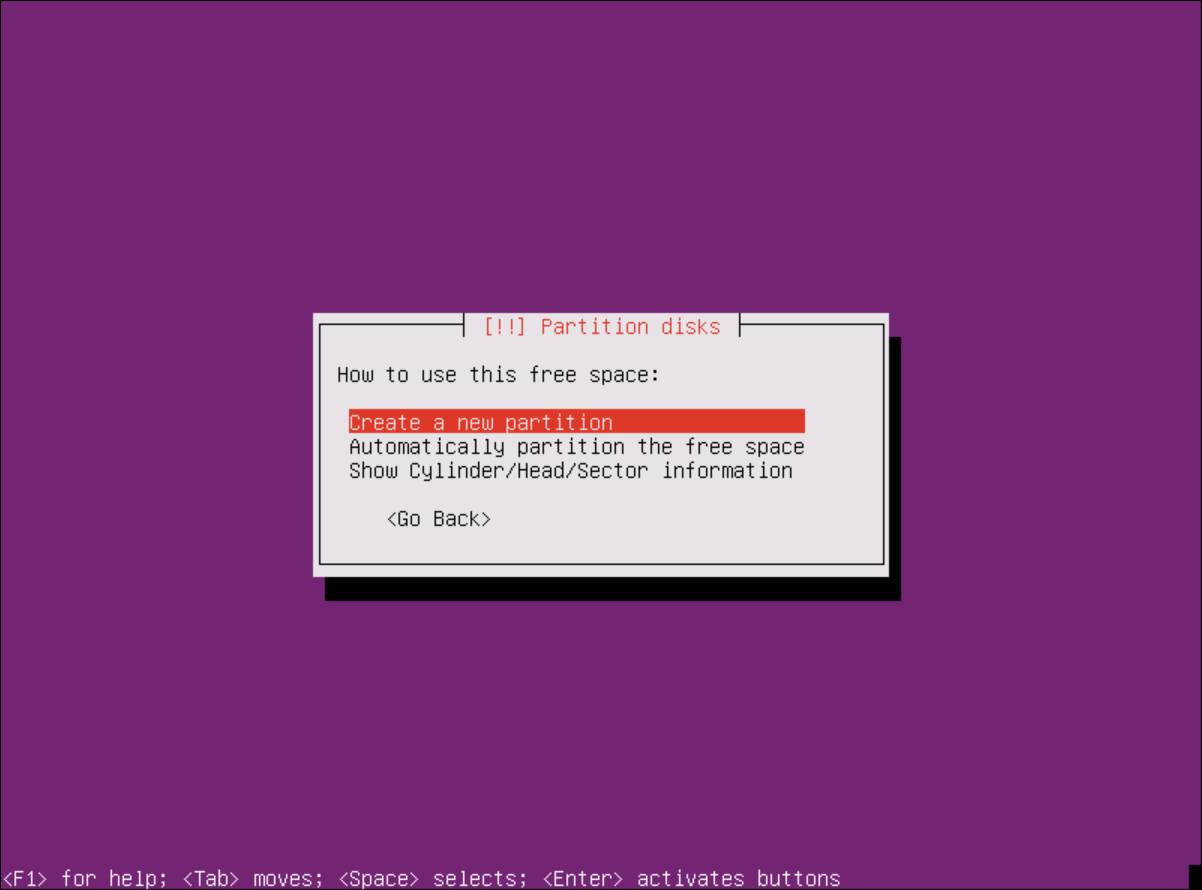
continue with the 1 GB
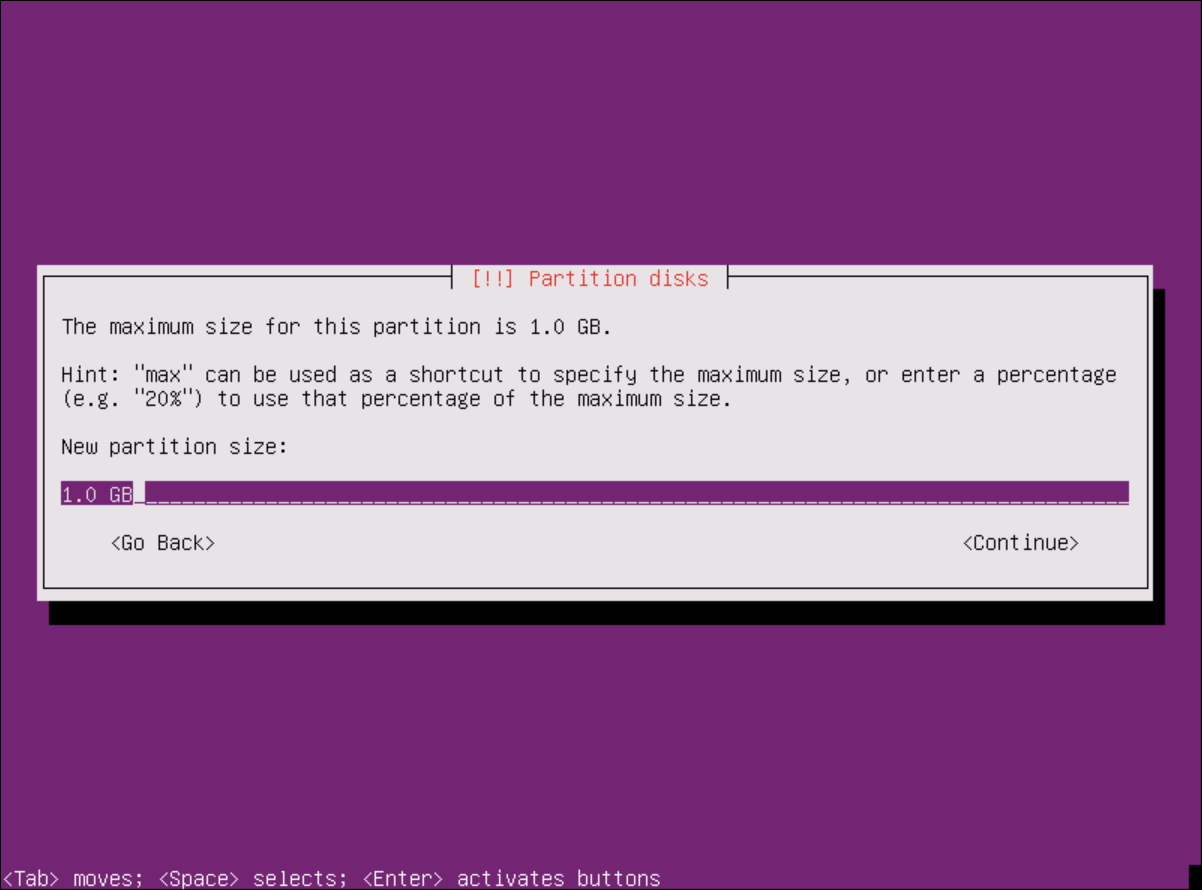
again choose “Primary”
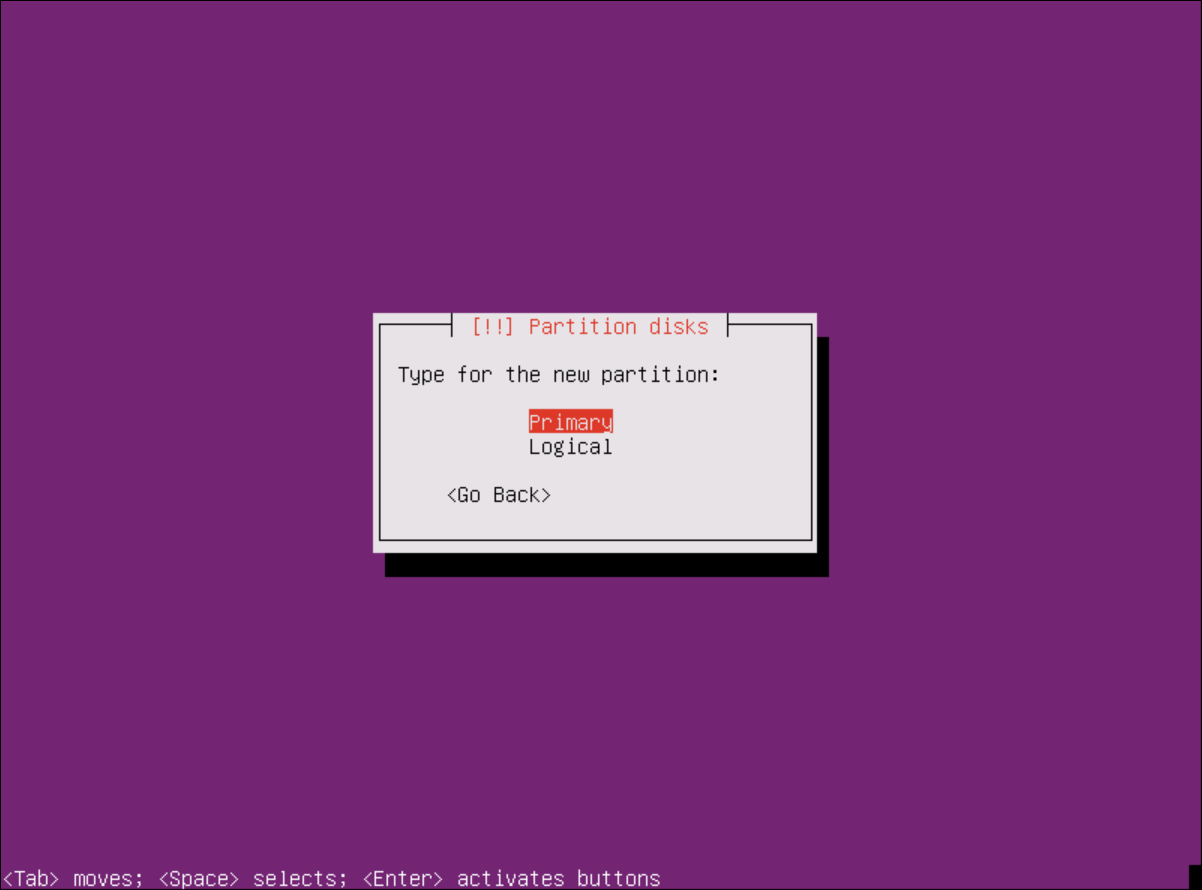
set “Ext4” and mount point “/boot”, you can also set the label as “/boot”
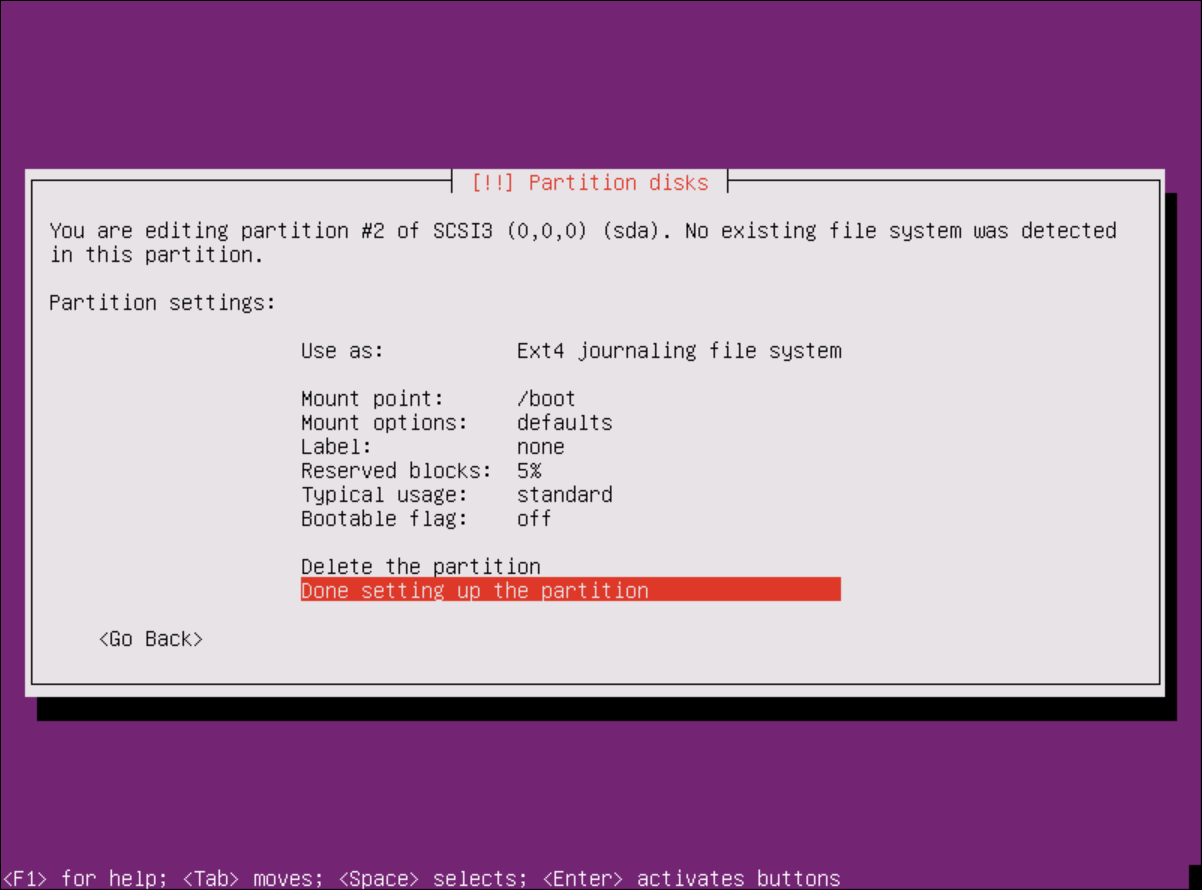
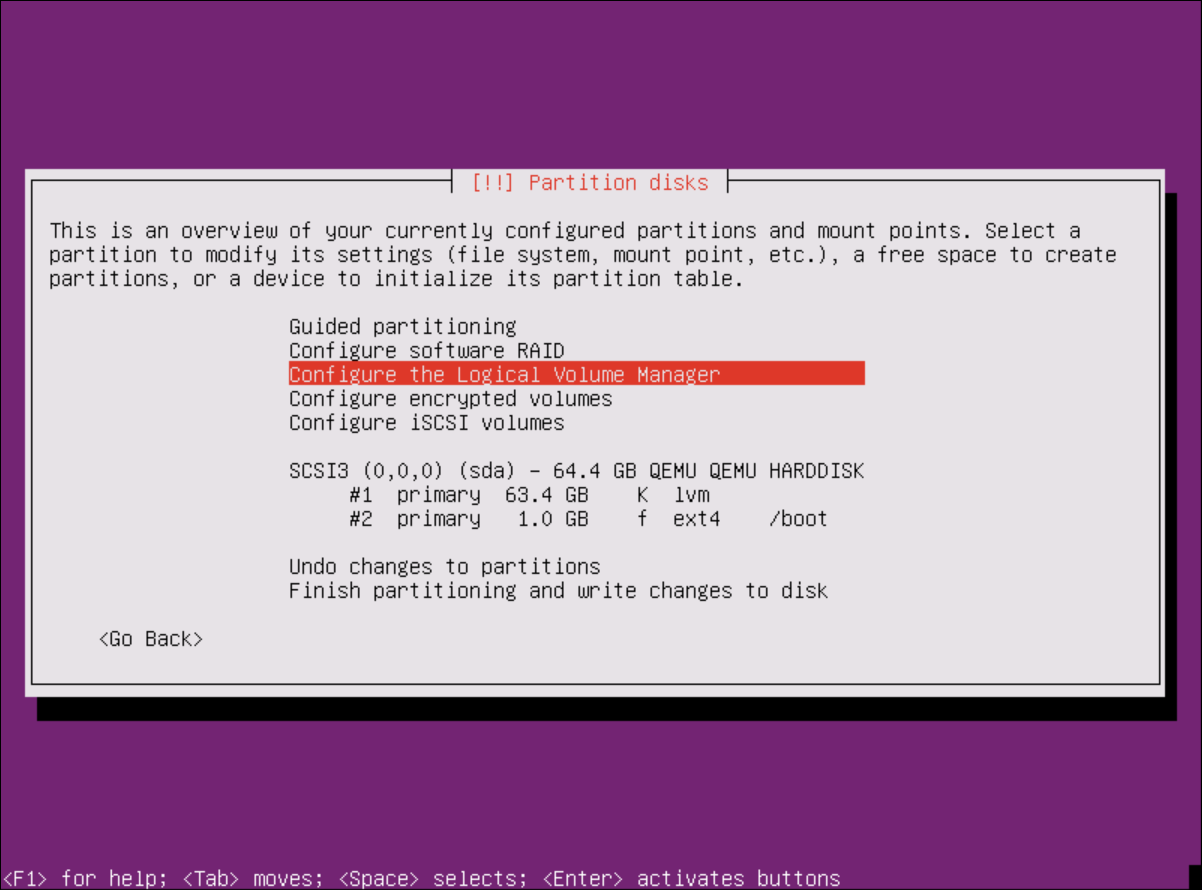
select “Configure the Logical Volume Manager”
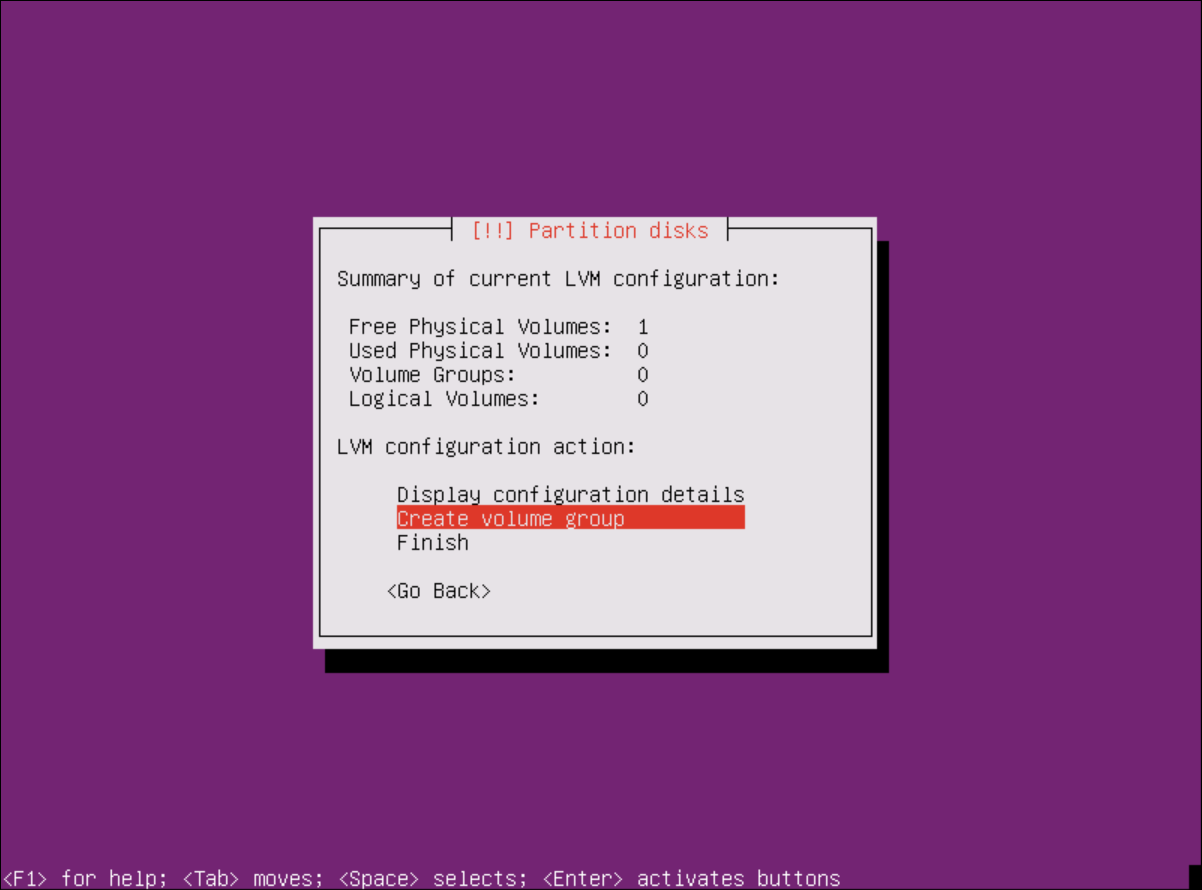
select “Create volume group”
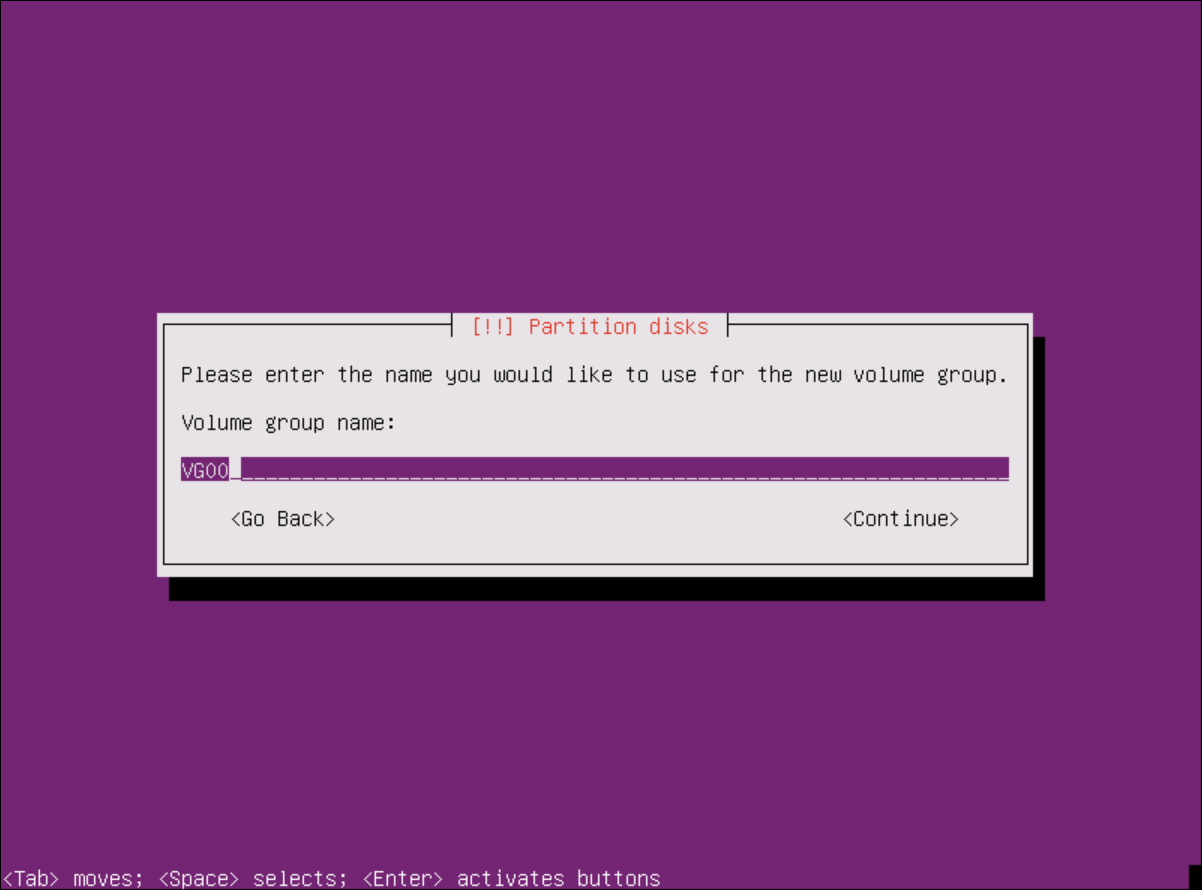
choose a name for your VG
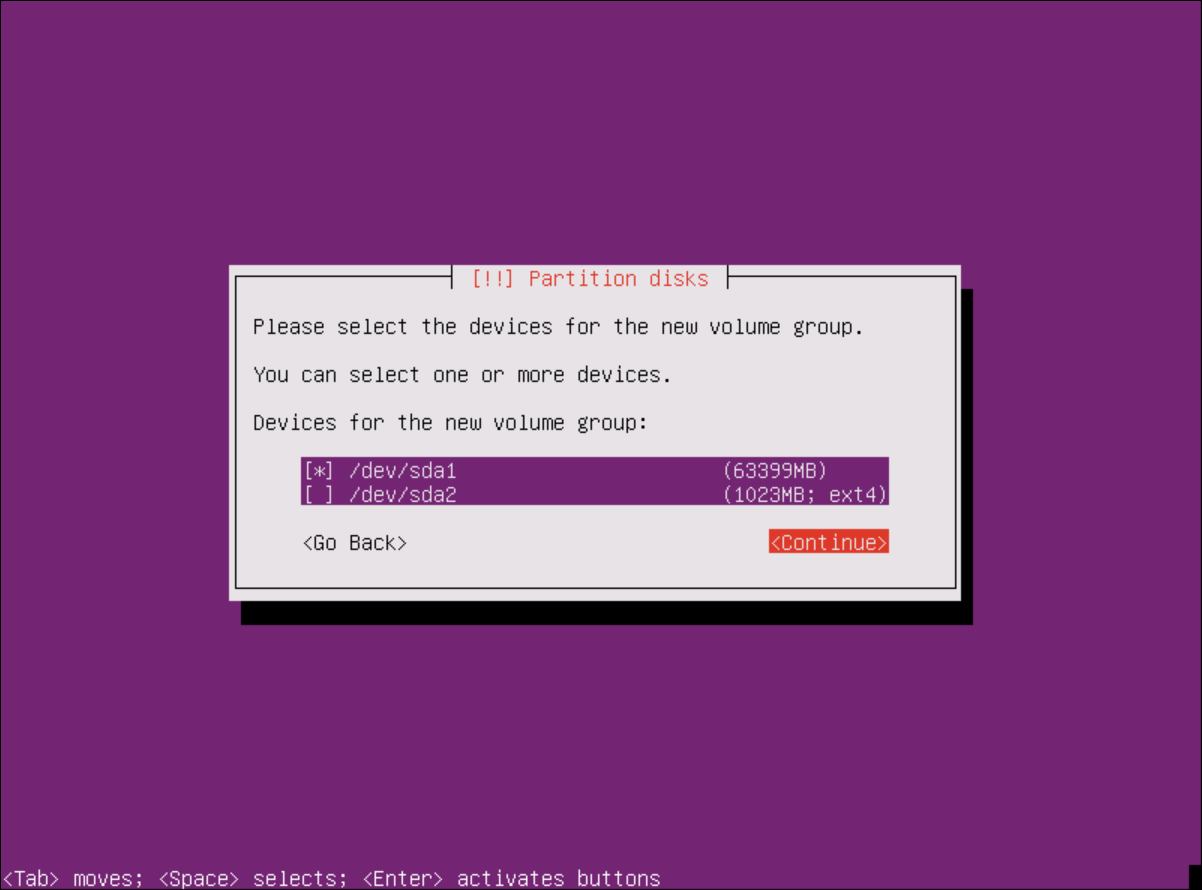
and place it on your correct partition
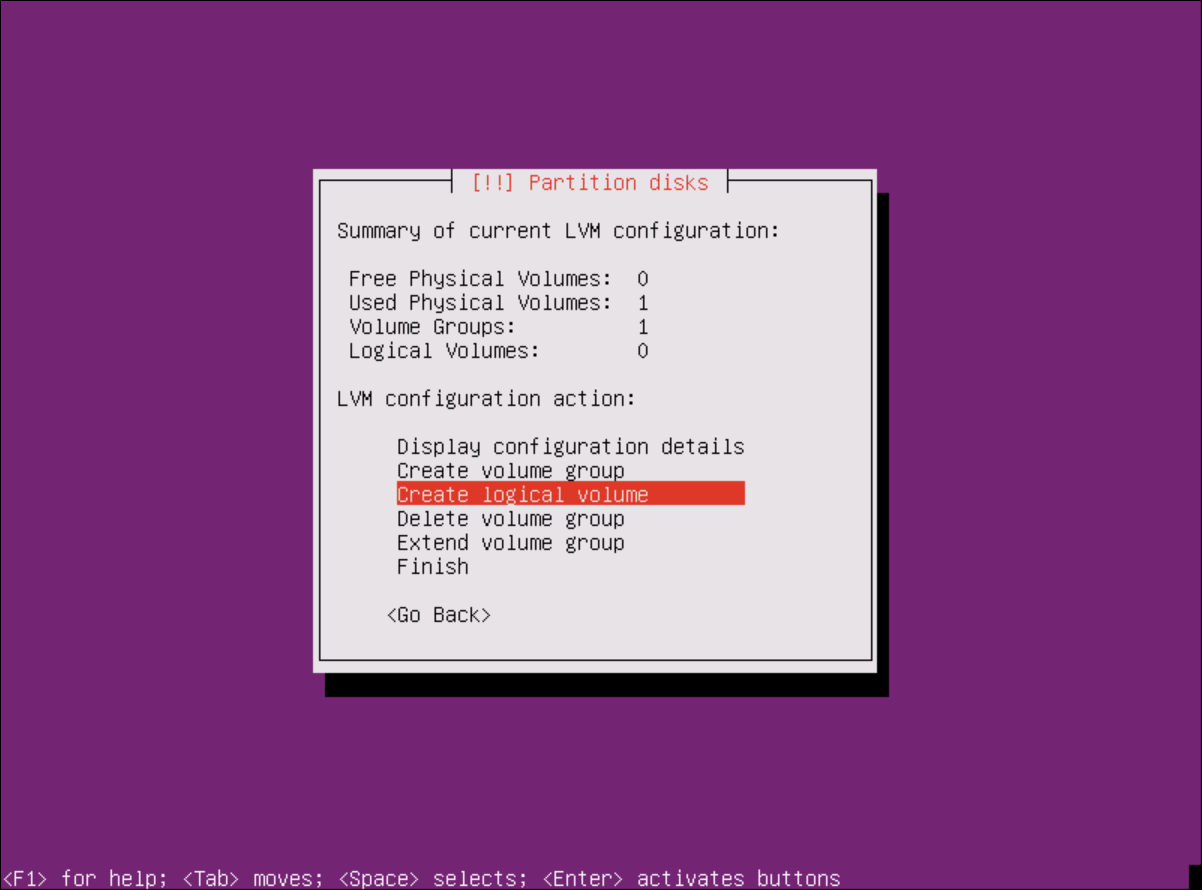
select “Create logical volume”
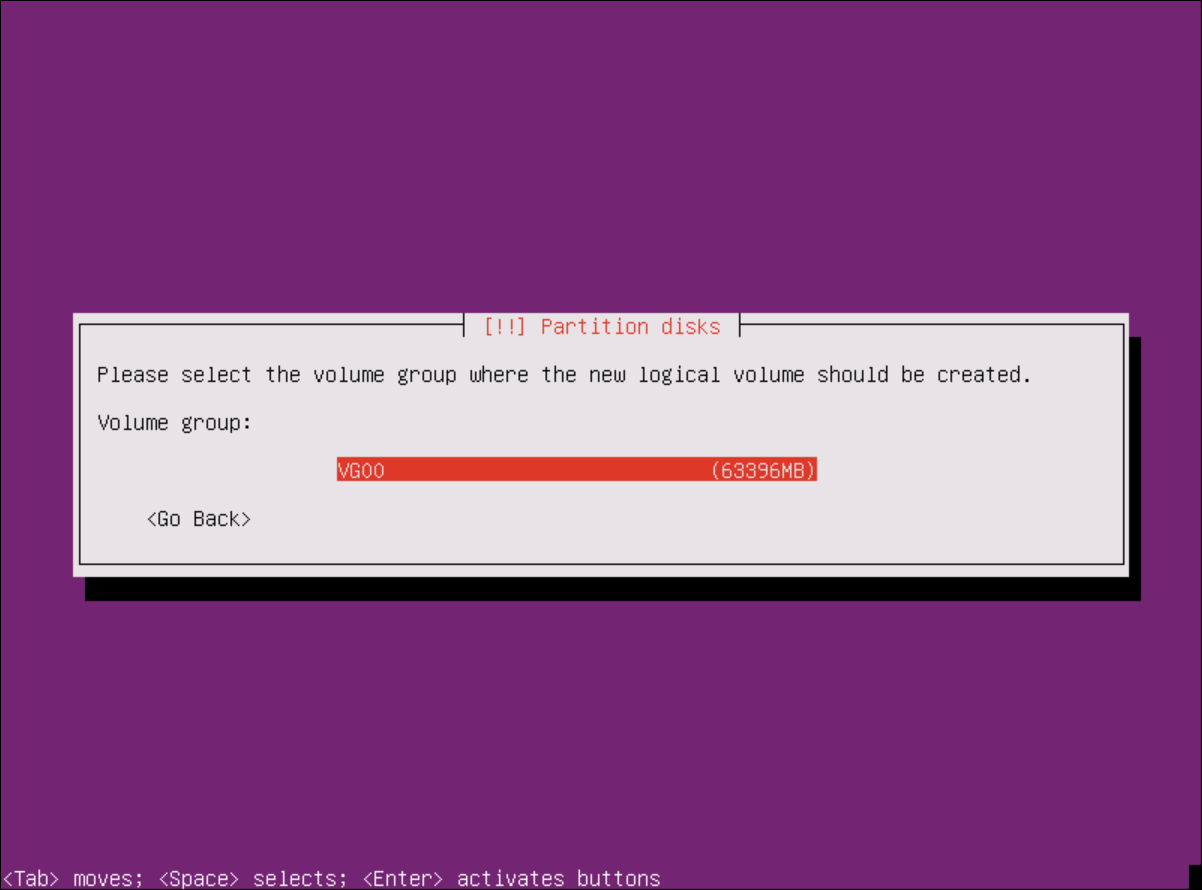
select your VG
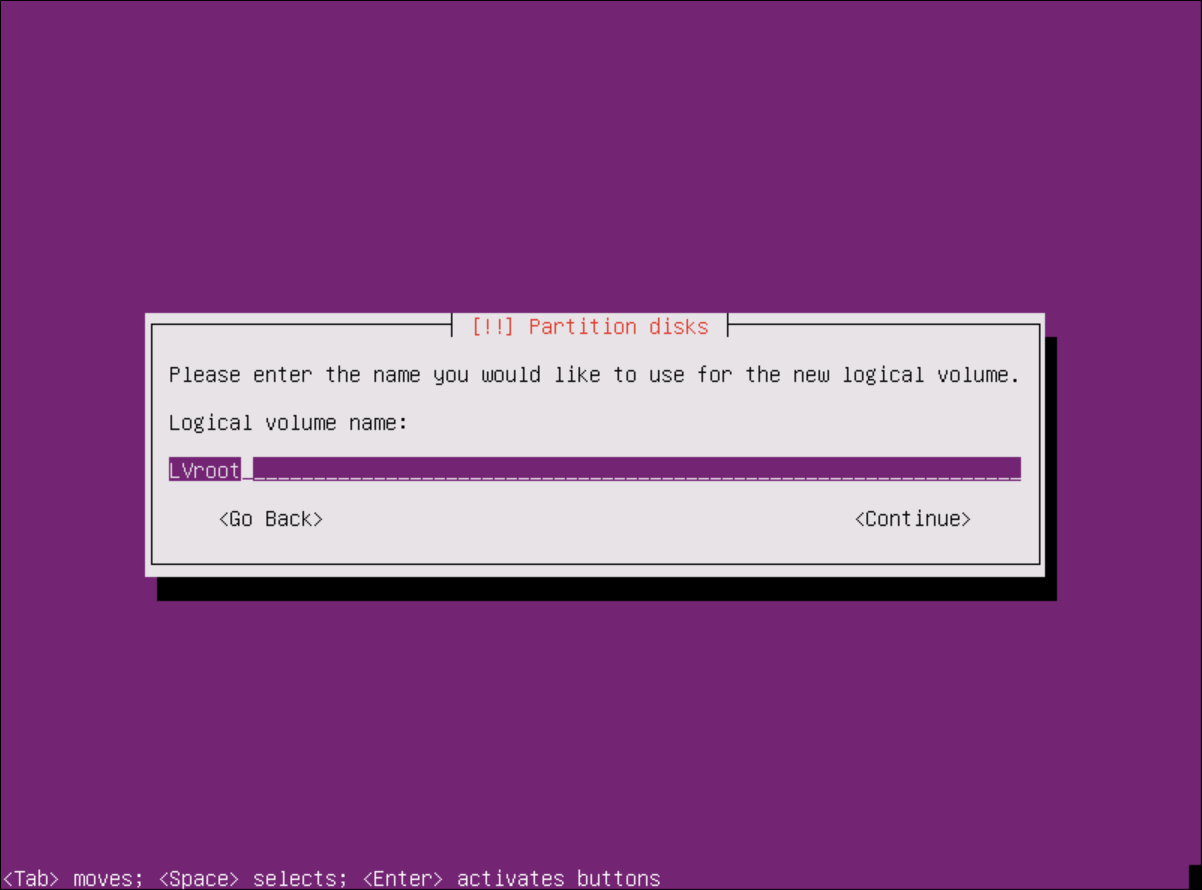
choose a name for your LV
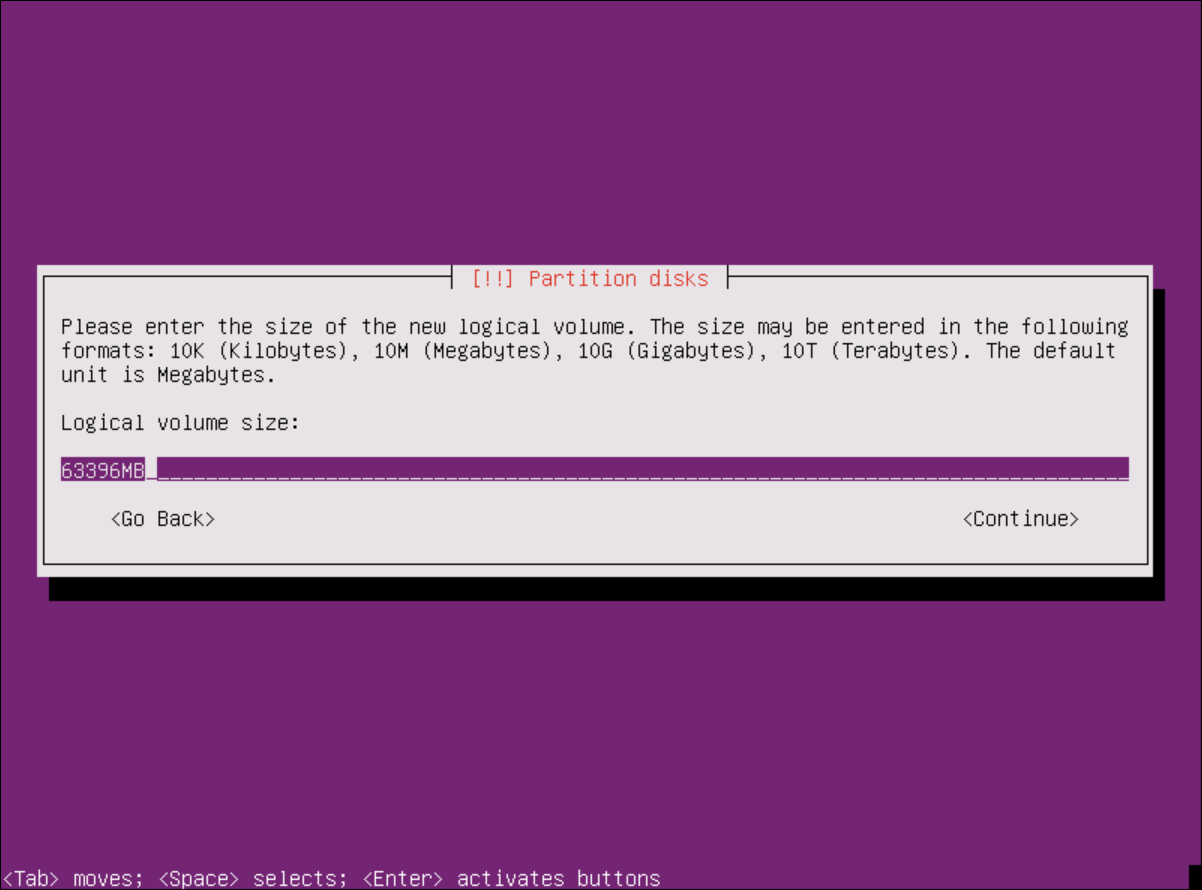
then select the size (if you have the chance to extent your PV/VG, you should create a 10GB root and some fitting /etc /var /home mounts as well. in my case I cannot extent it so I chose to use all on /)
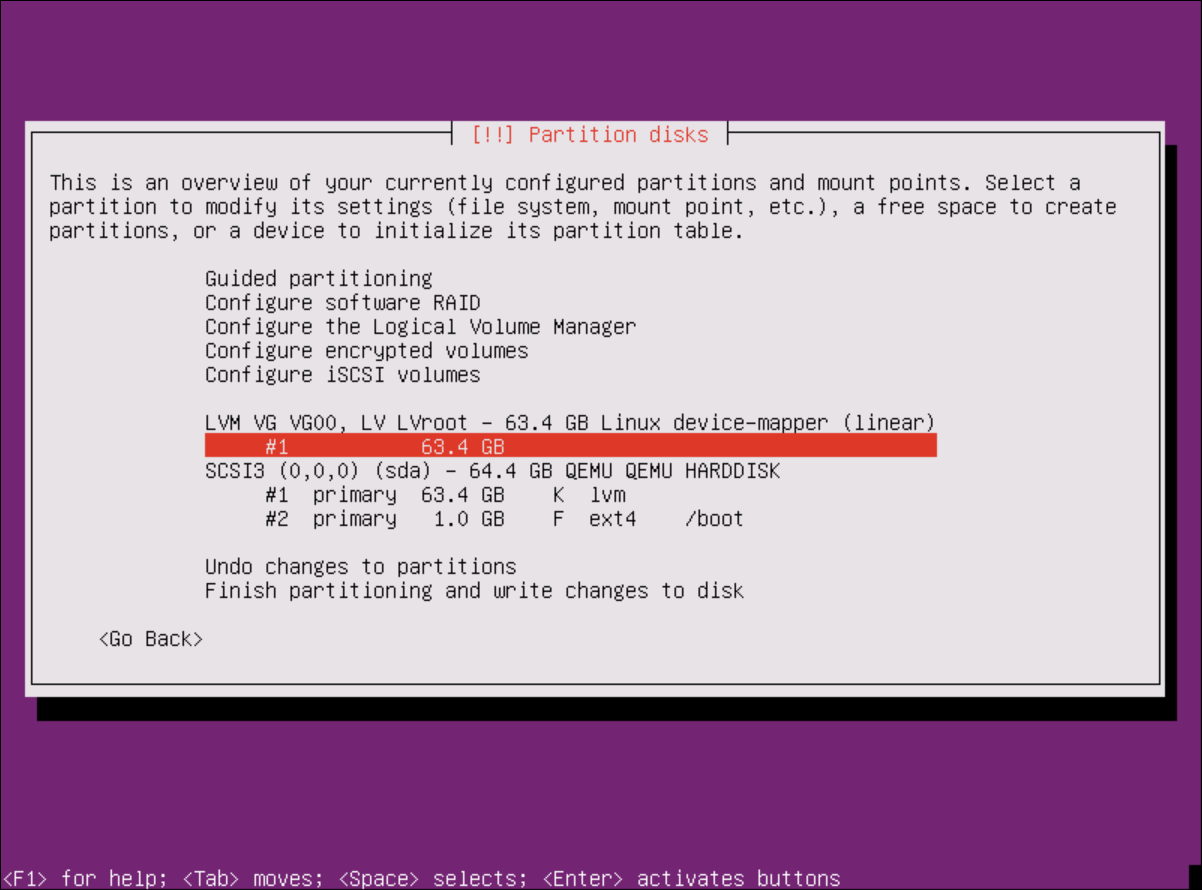
select your new LV
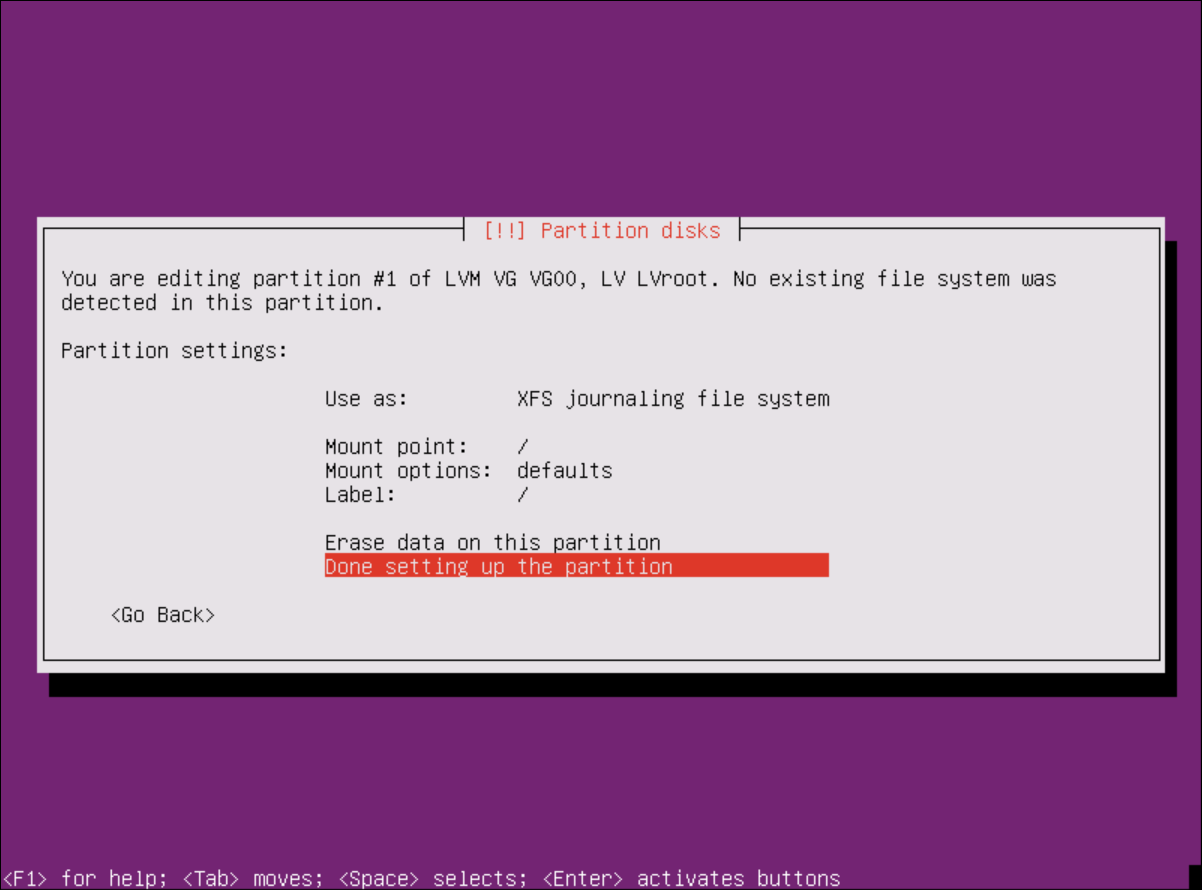
set “XFS” and the mountpoint “/”
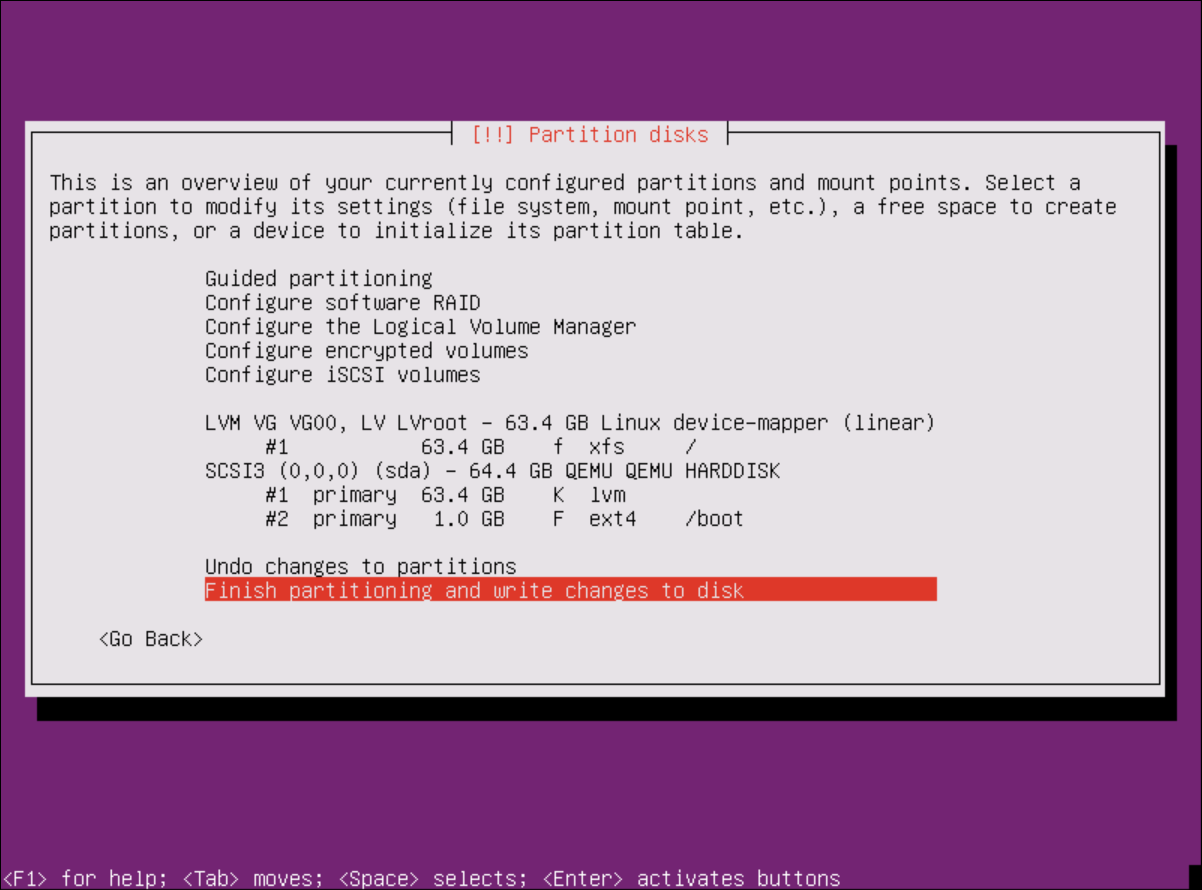
it should look like this now, if so, write changes to disk
OS Installation
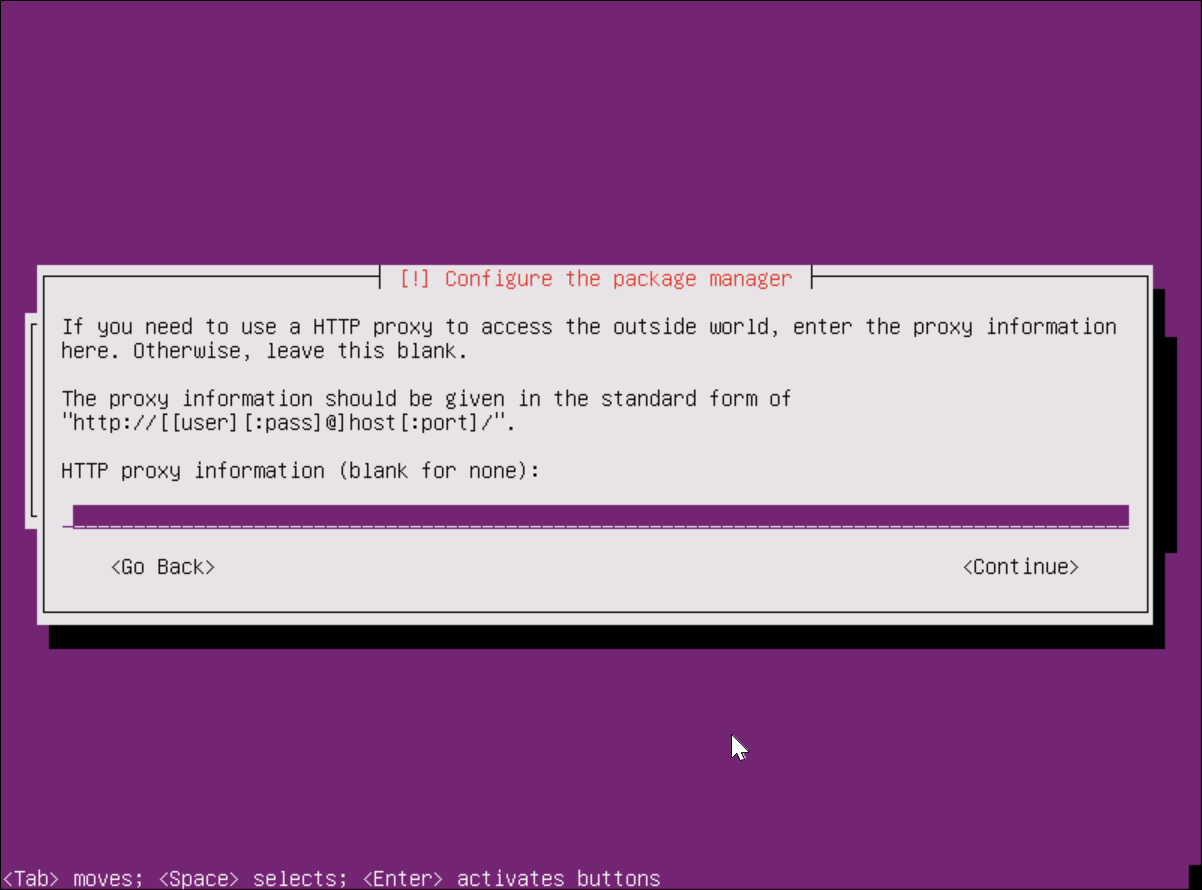
Proxy
during the next loadingscreens you will be asked for a proxy, if you dont have/ need one, leave it blank, otherwise insert your proxyip
